This guide describes how to download the widgets used for the Computer Science Principles curriculum. It also shows you how to open and run the projects. For information on each individual widget, see the lessons where they are used.
First, download Quorum Studio, version 3.0 or later. You'll need a (free) Quorum account to download Quorum Studio. If you don't already have one, you can make one by selecting "Login" in the top bar of the website and selecting "Sign up for an account".
IMPORTANT: If you already have Quorum Studio installed, make sure it's at least version 3.0! Older versions may not correctly clone the repository in the upcoming steps. If you aren't sure, go to "Help" > "Check for Updates" in Quorum Studio and to automatically update to the newest version.
To get the widgets, we "clone" them. This downloads the most up-to-date version of the widgets, along with all the code that makes them work, and makes it easy to get updates using version control. If you want to know more about cloning or how version control works, you can check out the Teams and Version Control tutorial, but you don't have to for this guide.
In Quorum Studio, go to "Team" > "Clone" in the top bar, or press CONTROL + SHIFT + O on Windows or COMMAND + SHIFT + O. This opens the Clone dialog, which should look similar to the picture below.

In the "Clone" section, enter this address: https://github.com/qorf/CSP-Widgets.git
You can use the "Location" field (or the associated "Browse" button) to choose where the downloaded files will go. If you leave the field blank, it'll go into the default location for Quorum Studio projects -- for example, on Windows, this will be the "Quorum Studio" folder in your Documents.
The last two fields, "Username" and "Password", should be left blank -- we don't need login information for this publicly available repository. Once you're ready to proceed, click the "Clone" button. Quorum Studio will now download all of the needed files. This will take a few moments, during which the status updates will appear in the console.
Once the clone is finished, we can now open a project. Opening the projects will let us run the associated widget and see the code that makes it work.
To open a project, select "File" > "Open Project", or use the hotkey (CONTROL + O on Windows, or COMMAND + O on Mac). This will open a file browsing dialog.
In the dialog, navigate to where you downloaded the repository in the previous step. Inside the folder there will be different projects and folders for the various widgets used in the CSP curriculum. To open a widget, navigate into its folder, go into the "Project" subfolder, and open "Project.qp". For example, to open the Pixelation Widget, we would navigate to PixelationWidget/Project/Project.qp and open it.
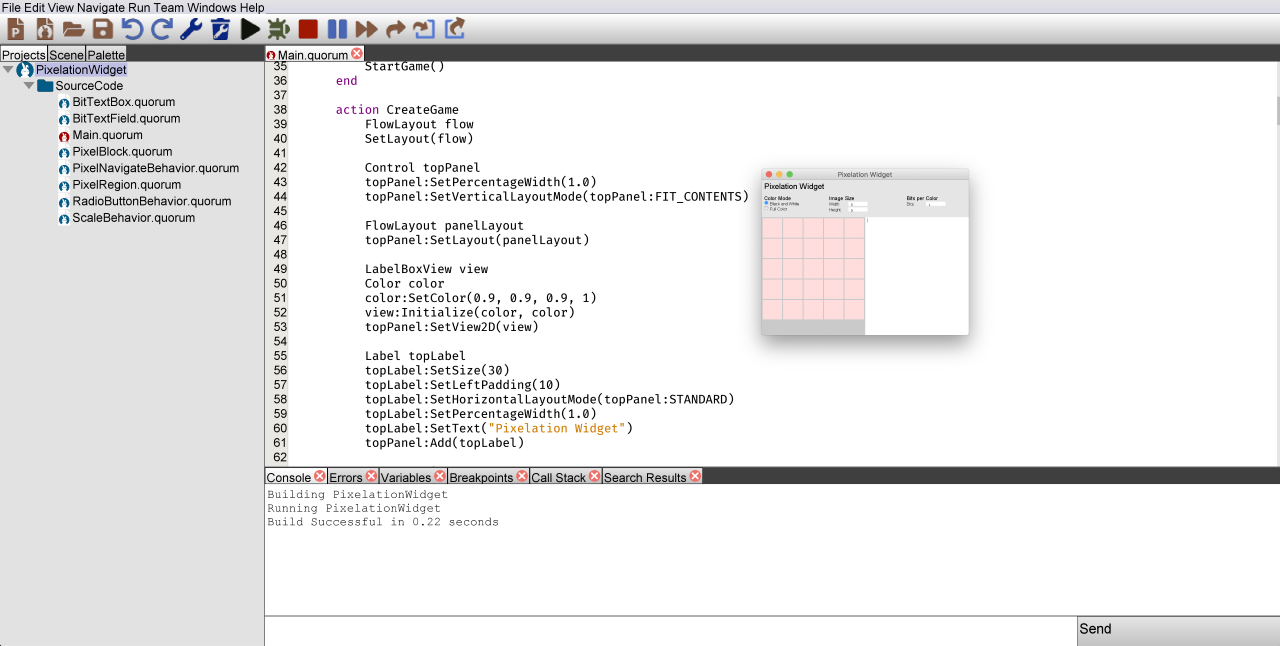
Once you've opened the project, you should see it appear in the project tree on the left side of the editor. From here, you can view the individual code files of the project, or run the project by selecting it in the tree and clicking the Run button in the toolbar or by selecting "Run" > "Run" in the top bar. For example, if ran the Pixelation Widget, it would look like the picture below:
With that, you're done! Every widget used by the CSP curriculum can be found in this repository, and every project can be opened, inspected, and run in the same way. For individual directions on how to use each widget, see the lessons they feature in.