Moving and Animating in 3D with Quorum
This tutorial tells you how to move and animate items on a screen in 3 dimensionsMoving and Animating Items
This tutorial will discuss Quorum's 3D coordinate system, and how to make 3D items move, rotate, and scale in your game.
Quorum's 3D Coordinate System
Before we can begin to animate 3D objects in Quorum, we have to understand the 3D space in which our objects will live. 3D objects are called 3D because they have three dimensions. A 2D object has width and height and a 3D object adds depth. In 2D animation, the position and size of an object on the screen can be explained using two measurements: one horizontal across the center of the screen (the x-axis) and one vertical across the center of the screen (the y-axis). When we add a third measurement for 3D, it runs from the user through the screen, getting farther away (we call this the z-axis). All 3D modeling is based on these three axes, but different programs use them differently.
In general, there is a right-hand coordinate system and a left-hand coordinate system. In both systems, the y-axis is positive in the up direction and the x-axis is positive to the right. The difference between the two is the z-axis. In the left-handed system, the z-axis is positive away from the user. In the right-handed system, the z-axis is positive toward the user. Quorum uses the left-handed coordinate system. This is important because if we want an object to move closer or farther away, we need to know if we should increase or decrease the z coordinate. Below is an image that represents the left-handed coordinate system using a computer monitor.

Moving Objects
Before we can learn how to move an object around the screen, we must first create a Model object. Refer to the Drawing in 3D tutorial for a refresher on how Models and drawing in 3D works. Remember to perform the following steps:
- include your use statement for the Model library, as well as the Color, Camera, AmbientLight, and DirectionalLight libraries
- instantiate a Model (call it "cylinder" for this example) and a Color object
- set color using the RGBA values (0.25, 0.8, 0.25, 1)
- set up the camera
- load the cylinder primitive into the Model (use a width, height, and depth of 1.5 and the color object for this example)
- add the Model object to the game
- set up the lighting (directional and ambient)
Our code should look like this:
//these lines include our libraries
use Libraries.Game.Game
use Libraries.Game.Graphics.Model
use Libraries.Game.Graphics.Color
use Libraries.Game.Graphics.Camera
use Libraries.Game.Graphics.AmbientLight
use Libraries.Game.Graphics.DirectionalLight

class Main is Game
    // this line declares our model object
    Model cylinder

    action Main
        StartGame()
    end

    action CreateGame
        // these lines declare and set our color object
        Color color
        color:SetColor(0.25, 0.8, 0.25, 1)
        // this line creates a camera object
        Camera camera = GetCamera3D()
        // this line places our camera up and to the right of our box
        camera:SetPosition(0, 2, -4)
        // this line tells our camera to look at the center of the 3D scene
        camera:LookAt(0, 0, 0)
        // this line loads a cylinder with our color applied
        cylinder:LoadCylinder(1.5, 1.5, 1.5, color)

        // this line adds the cylinder to the game
        Add(cylinder)

        //these lines add a basic directional light
        DirectionalLight light
        light:SetDirection(-1, -4, 3)
        light:SetColor(0.8, 0.8, 0.8, 1)
        Add(light)

        //these lines set the scene’s ambient light
        AmbientLight ambient
        ambient:SetColor(0.4, 0.4, 0.4, 1)
        SetAmbientLight(ambient)
    end

    action Update(number seconds)
    end
end
The code above loads a cylinder in the middle of our screen:
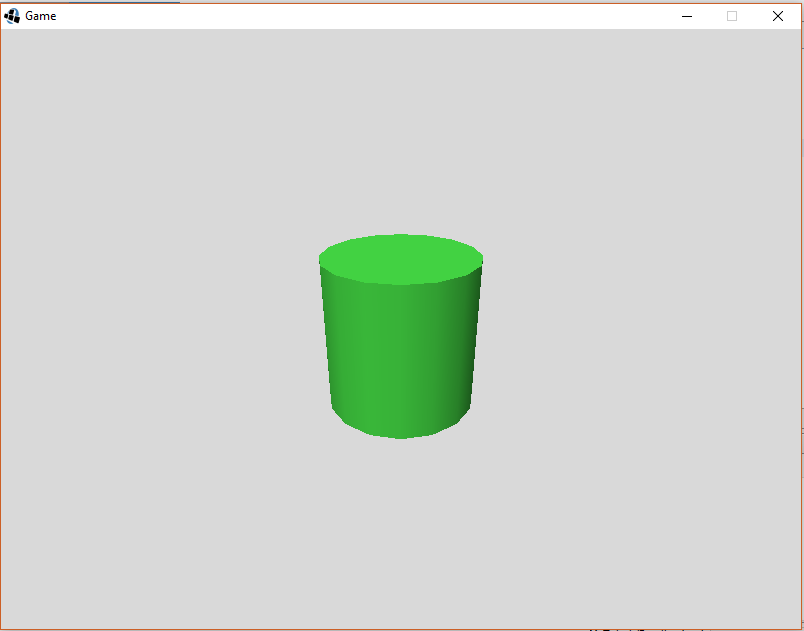
Now that our initial cylinder is drawn, we can explore how it can move on the screen. In order to move the object we need to set its new position on the game screen. Every Model has a set of properties attached to it. Three of those properties are its x, y, and z position on the game screen. By default, Models are located at position (0, 0, 0), which is the middle the screen. Since we haven't previously set new coordinates, all the objects we've drawn so far have been positioned at the default (0,0,0) position. If we want to position an item in a different location, we can use the SetX, SetY, and SetZ actions that are part of the Model class. These actions each take a number parameter that represents the new x, y, or z coordinate of the Model. In the 2D animation tutorial, we used movement along the x and y axes, so we will focus on movement along the z-axis in this tutorial.
Navigate to the CreateGame action and place the following line of code after Add(cylinder):
//this line of code moves our cylinder closer
cylinder:SetZ(-2)
In order to move our cylinder farther away, edit that line to read:
//this line of code moves our cylinder farther away
cylinder:SetZ(2)
For now, let's set the initial position of our cylinder to be a little farther away and to the lower left of our screen by adding these three lines:
cylinder:SetX(-2)
cylinder:SetY(-2)
cylinder:SetZ(2)
The same animation principles mentioned in the 2D animation tutorial also apply in 3D. To achieve smooth movement across a number of frames, we must move the image incrementally over a period of time. To do this, remember that we can take advantage of our Update action, which is called by the engine on each frame while game's main loop is active.
If we want to insert movement code in the update action, navigate to the Update(number seconds) action. This is where we write our code to move the Model through three space on each frame. To do this, we need three number parameters that represent the new x position, the new y position, and the new z position calculated during the game's main loop. We can calculate the new x, y, and z positions by getting the current x and y positions plus some speed value multiplied by the seconds parameter. (Remember that the seconds parameter is the amount of time elapsed since the last time the Update action was called by the engine). The speed value represents how many pixels to move in a second. So, if the number chosen is small, the movement will be slow, maybe even too slow to see! Likewise, if the number chosen is too large, the movement will not appear smooth; instead, the Model will appear to jump through space. Play around with different speed values to see their effect.
An example of code that moves a Model across the screen is below:
   action Update(number seconds)
        // these statements calculate the new x, y, and z positions by getting the current
        // positions of the Model and adding a "speed" factor multiplied by seconds
        number newX = cylinder:GetX() + 2 * seconds
        number newY = cylinder:GetY() + 2 * seconds
        number newZ = cylinder:GetZ() - 2 * seconds
        cylinder:SetPosition(newX, newY, newZ)
    end
If we run our program now (F6), we will see our cylinder move across the screen and closer until it eventually leaves the screen.
Rotating and Scaling Objects
In addition to moving across the screen, Models can also be rotated and scaled using the Quorum Game Library. This section will cover how to rotate and scale your Model during your game.
Models can be rotated or scaled during a game. Internally, Models store information relating to their orientation about a 3D axis, including the degree of rotation and whether the Model has been scaled.
Rotation
Let's start with rotation. Models have actions that allow us to change their rotation in our game. The Rotate action takes 4 numbers: one to indicate the direction around each axis (x,y,z) and a number that represents the rotation angle in degrees. So, passing the values (1, 0, 0, 90) to this action will rotate our Model 90 degrees clockwise around the x axis. Negative values can be passed to this function as well, having the effect of changing the direction of rotation. For example, passing a value of (-1, 0, 0, 90) to the Rotate action will rotate the Model 90 degrees in the counter-clockwise direction. An example use of the Rotate action is below.
use Libraries.Game.Game
use Libraries.Game.Graphics.Model
use Libraries.Game.Graphics.Color
use Libraries.Game.Graphics.Camera
use Libraries.Game.Graphics.AmbientLight
use Libraries.Game.Graphics.DirectionalLight

class Main is Game
    Model cylinder

    action Main
        StartGame()
    end

    action CreateGame
        Color color
        color:SetColor(0.25, 0.8, 0.25, 1)
        Camera camera = GetCamera3D()
        camera:SetPosition(0, 2, -4)
        camera:LookAt(0, 0, 0)

        cylinder:LoadCylinder(1.5, 1.5, 1.5, color)
        Add(cylinder)

        //This line causes the cylinder to be rotated 90 degrees
        //around the z-axis
        cylinder:Rotate(0, 0, -1, 90)

        DirectionalLight light
        light:SetDirection(-1, -4, 3)
        light:SetColor(0.8, 0.8, 0.8, 1)
        Add(light)

        AmbientLight ambient
        ambient:SetColor(0.4, 0.4, 0.4, 1)
        SetAmbientLight(ambient)
    end

    action Update(number seconds)
    end
end
These lines of code produce the following effect on our cylinder:
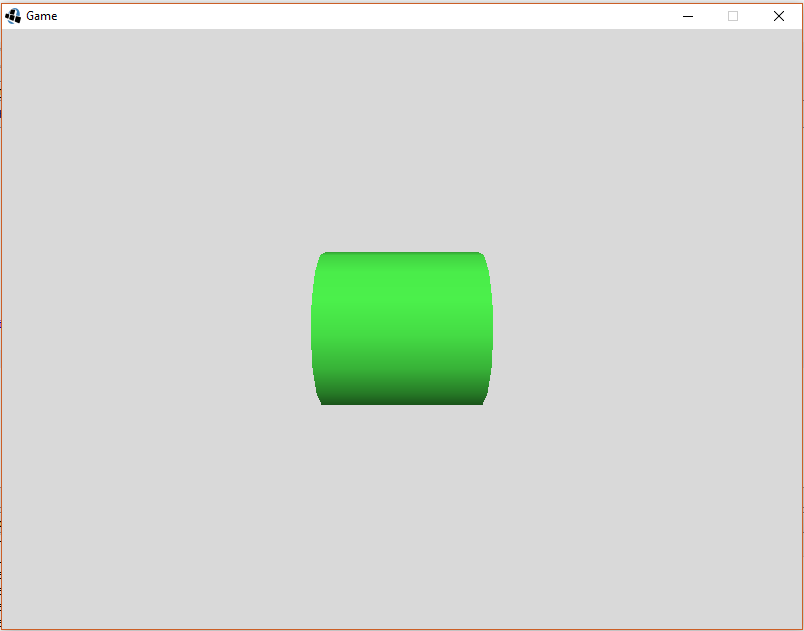
Recall that in 2D drawing, Drawables have two separate rotation actions: SetRotation() and Rotate(). The Model action Rotate() is just like the 2D Rotate action: it tells the model to rotate the given number of degrees from its current position.
Rotation can also be performed in the Update loop of our game to have the Model rotate throughout the game. Simply place the call to rotate the Model in the Update action instead of the CreateGame action. An example of this is shown below, but you can try different values in order to change the direction and the speed of rotation. This code will cause our cylinder to rotate clockwise around the z-axis.
use Libraries.Game.Game
use Libraries.Game.Graphics.Model
use Libraries.Game.Graphics.Color
use Libraries.Game.Graphics.Camera
use Libraries.Game.Graphics.AmbientLight
use Libraries.Game.Graphics.DirectionalLight

class Main is Game
    Model cylinder

       action Main
        StartGame()
    end

    action CreateGame
        Color color
        color:SetColor(0.25, 0.8, 0.25, 1)
        Camera camera = GetCamera3D()
        camera:SetPosition(0, 2, -4)
        camera:LookAt(0, 0, 0)

        cylinder:LoadCylinder(1.5, 1.5, 1.5, color)
        Add(cylinder)

        DirectionalLight light
        light:SetDirection(-1, -4, 3)
        light:SetColor(0.8, 0.8, 0.8, 1)
        Add(light)

        AmbientLight ambient
        ambient:SetColor(0.4, 0.4, 0.4, 1)
        SetAmbientLight(ambient)
    end

    action Update(number seconds)
        //This line  causes our cylinder to rotate (clockwise) about the z-axis 1
        //degree every frame
        cylinder:Rotate(0, 0, 1, 1)
    end
end
Scaling
Sometimes, you may want to make your object appear larger or smaller on the screen. In Quorum (and many other applications), this is known as scaling. To scale a Model in Quorum, we can call the Scale() action. This action takes three number parameters that represent the factor the image will be scaled by in each direction (x, y, z). If we want our object’s proportions to stay the same, we need to put the same number for each direction. Remember, scaling in 3D changes each measurement individually: For example, giving the Scale action (2, 2, 2) will increase the image's size by 2 in each direction and make our object about 8 times the size of the original. Passing the Scale action (0.5, 0.5, 0.5) will decrease the image's size by a factor of 0.5 in each direction, making our object’s scale about 12.5% of its original size. An example program that makes use of scaling is below:
use Libraries.Game.Game
use Libraries.Game.Graphics.Model
use Libraries.Game.Graphics.Color
use Libraries.Game.Graphics.Camera
use Libraries.Game.Graphics.AmbientLight
use Libraries.Game.Graphics.DirectionalLight

class Main is Game
    Model cylinder
    //Create a second model object
    Model cylinder2

    action Main
        StartGame()
    end

    action CreateGame
        Color color
        color:SetColor(0.25, 0.8, 0.25, 1)
        Camera camera = GetCamera3D()
        camera:SetPosition(0, 2, -4)
        camera:LookAt(0, 0, 0)

        //Load a second cylinder that is exactly the same as our first
        cylinder2:LoadCylinder(1.5, 1.5, 1.5, color)
        //Set the positions so that the cylinders don’t overlap
        cylinder:SetPosition(-1, 0, 0.75)
        cylinder2:SetPosition(1, 0, 0.25)

        //This line of code scales cylinder2 by 0.5 in each direction
        cylinder2:Scale(0.5, 0.5, 0.5)
        Add(cylinder)
        //Don’t forget to add our second cylinder
        Add(cylinder2)

        DirectionalLight light
        light:SetDirection(-1, -4, 3)
        light:SetColor(0.8, 0.8, 0.8, 1)
        Add(light)

        AmbientLight ambient
        ambient:SetColor(0.4, 0.4, 0.4, 1)
        SetAmbientLight(ambient)
    end

    action Update(number seconds)
    end
end
The image below shows the result of the above code.
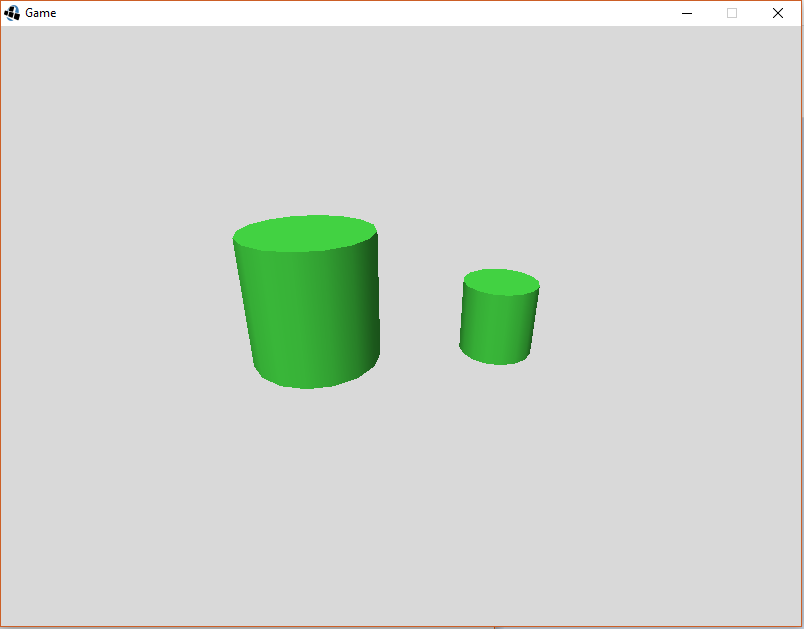
Scaling can be a difficult concept to visualize. The code below is for a game to explore scaling. Copy and run this code. In the game, the left and right arrow keys control the width scale (the z-axis), the up and down arrow keys control the height scale (the y-axis), shift + the up and down arrow keys controls the depth scale (the z-axis). To scale the whole model press the space key (shift + space to decrease size).
use Libraries.Game.Game
use Libraries.Game.Graphics.Model
use Libraries.Game.Graphics.Color
use Libraries.Game.Graphics.Camera
use Libraries.Game.Graphics.AmbientLight
use Libraries.Game.Graphics.DirectionalLight
use Libraries.Interface.Events.KeyboardListener
use Libraries.Interface.Events.KeyboardEvent
use Libraries.Compute.Math

class Main is Game, KeyboardListener
    Model cylinder
    boolean shift = false //stores whether shift is being held
    Math math //this allows us to round our values for output

    action Main
        StartGame()
    end

    action CreateGame
        Color color
        color:SetColor(0.25, 0.8, 0.25, 1)
        Camera camera = GetCamera3D()
        camera:SetPosition(0, 2, -4)
        camera:LookAt(0, 0, 0)

        cylinder:LoadCylinder(1.5, 1.5, 1.5, color)
        Add(cylinder)
        //Load a second cylinder that is exactly the same as our first

        AddKeyboardListener(me)

        DirectionalLight light
        light:SetDirection(-1, -4, 3)
        light:SetColor(0.8, 0.8, 0.8, 1)
        Add(light)

        AmbientLight ambient
        ambient:SetColor(0.4, 0.4, 0.4, 1)
        SetAmbientLight(ambient)
    end

    action Update(number seconds)
    end

    action PressedKey(KeyboardEvent event)
        if event:keyCode = event:SHIFT_LEFT or event:keyCode = event:SHIFT_RIGHT
            shift = true
        end
        if event:keyCode = event:RIGHT
            cylinder:Scale(1.1, 1, 1)
            printSize()
        elseif event:keyCode = event:LEFT
            cylinder:Scale(0.9, 1, 1)
            printSize()
        elseif event:keyCode = event:UP
            if shift
                cylinder:Scale(1, 1, 1.1)
            else
                cylinder:Scale(1, 1.1, 1)
            end
            printSize()
        elseif event:keyCode = event:DOWN
            if shift
                cylinder:Scale(1, 1, 0.9)
            else
                cylinder:Scale(1, 0.9, 1)
            end
            printSize()
        elseif event:keyCode = event:SPACE
            if shift
                cylinder:Scale(0.9, 0.9, 0.9)
            else
                cylinder:Scale(1.1, 1.1, 1.1)
            end
            printSize()
        end
    end

    action ReleasedKey(KeyboardEvent event)
        if event:keyCode = event:SHIFT_LEFT or event:keyCode = event:SHIFT_RIGHT
            shift = false
        end
    end

    action printSize
        //solves for and prints the width, height, and depth of the cylinder
        output "(" + math:Round(cylinder:GetWidth() * cylinder:GetTransform():GetScaleX(), 3) + ", " +
               math:Round(cylinder:GetHeight() * cylinder:GetTransform():GetScaleY(), 3) + ", " +
               math:Round(cylinder:GetWidth() * cylinder:GetTransform():GetScaleZ(), 3) + ")"
        end
end
Next Tutorial
In the next tutorial, we will discuss Model3D, which describes how to use 3D Model.