Cameras in Quorum
This tutorial tells you how use cameras in QuorumAn Introduction to Using Cameras in Quorum
This tutorial will cover user controls for moving, zooming, and rotating the camera in both 2D and 3D, and will discuss orthographic versus perspective cameras. Cameras are used to control which view of the virtual game world is shown on the computer screen.
To assist with this tutorial, we can download this zip file which contains a project with a small 2D scene to explore using the camera, and this zip file which contains a project with a small 3D scene to explore.
Moving the Camera
2D Movement
Cameras in Quorum can be used on both 2D and 3D scenes. To begin, let’s open the 2D project we downloaded.
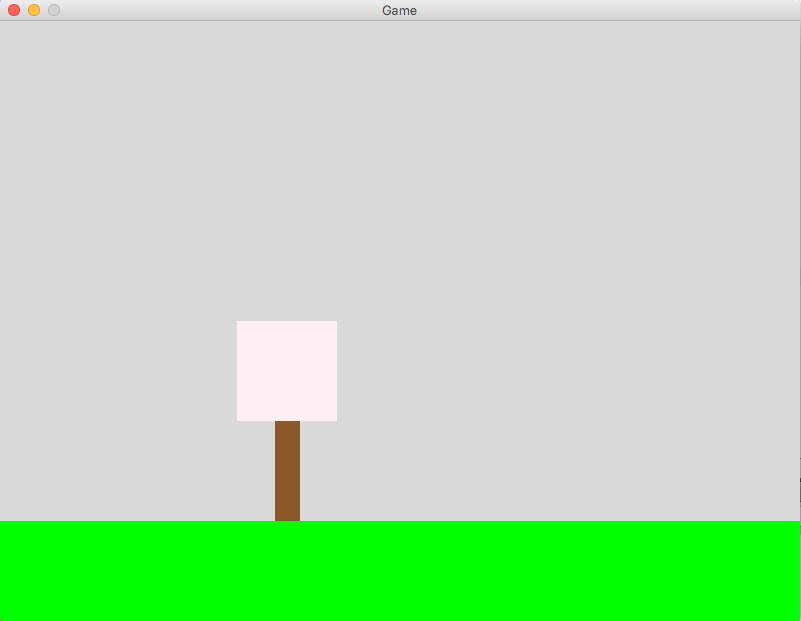
This is a 2D scene with a tree, but if we run the code as-is, no tree is in view. That is because the tree is past the edge of our game screen. The first thing we want to know how to do with a 2D camera is move it so that we can see more of our scene.
Before we start using our 2D camera, we have to understand one concept: a camera (whether it is a 2D or a 3D camera) is a 3D object. Think about it like taking a picture of a painting: even though the object you are capturing is flat, the camera has to be positioned in 3D space. For this reason, our 2D camera's position requires 3 parameters: an x value, a y value, and a z value. The next section is a description of the Quorum 3D coordinate system and the 2D camera tutorial continues on afterwards.
Quorum's 3D Coordinate System
Before we can begin to use 3D objects in Quorum, we have to understand the 3D space in which our objects will live. 3D objects are called 3D because they have three dimensions. A 2D object has width and height and a 3D object adds depth. In 2D animation, the position and size of an object on the screen can be explained using two measurements: one horizontal across the center of the screen (the x-axis) and one vertical across the center of the screen (the y-axis). When we add a third measurement for 3D, it runs from the user through the screen, getting farther away (we call this the z-axis). All 3D modeling is based on these three axes, but different programs use them differently.
In general, there is a right-hand coordinate system and a left-hand coordinate system. In both systems, the y-axis is positive in the up direction and the x-axis is positive to the right. The difference between the two is the z-axis. In the left-handed system, the z-axis is positive away from the user. In the right-handed system, the z-axis is positive toward the user. Quorum uses the left-handed coordinate system. This is important because if we want an object to move closer or farther away, we need to know if we should increase or decrease the z coordinate. Below is an image that represents the left-handed coordinate system using a computer monitor.

Each Quorum game has a default camera, but we can adjust the camera settings. Our project already has a camera set up, but let’s look at the lines of code that are needed every time a camera is used.
First, Quorum needs to know where to find the camera class, so we need to include this use statement:
Use Libraries.Game.Graphics.CameraThen, our camera class must be instantiated:
Camera camera = undefinedBefore this camera can be manipulated, it needs to know what kind of camera to use. We get this by calling the GetCamera() action inside Create Game:
Camera = GetCamera2D()Most objects need to be added to our game using the Add() action, but cameras are special. With only these lines of code, our camera is already set up. Now that our camera is set up, write this line of code in your CreateGame section to use our camera’s Move action to shift the view.
camera:Move(500, 0, 0)This image is a result of that code:
3D Movement
In our Drawing in 3D tutorial, we learned basic camera set-up for a 3D game. This tutorial will build on what we learned previously, and will introduce the other things a camera can do. The first thing we should learn to do with our camera is move it. We have already learned how to set the camera’s initial position and point the camera where we would like, the next important camera action to learn is called Move.
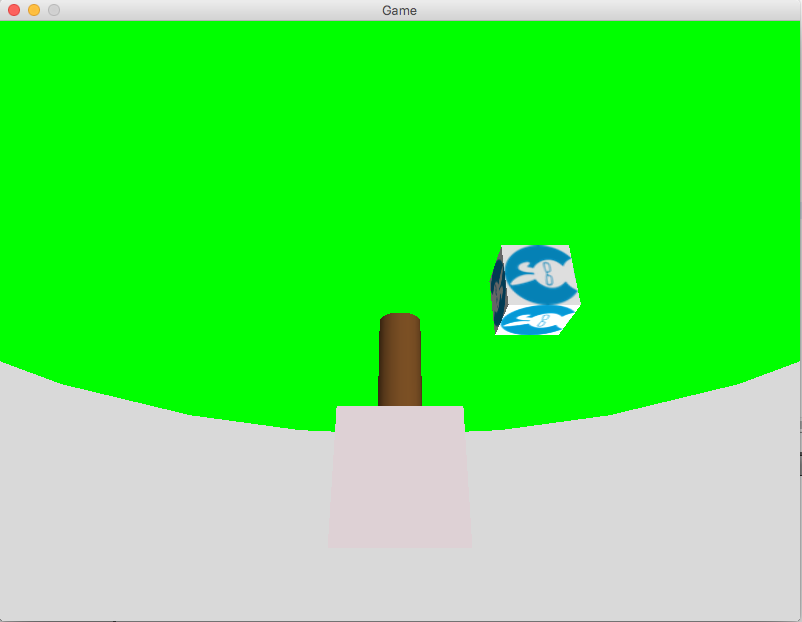
Let’s run the 3D program (CameraWorld) we have downloaded (F6). Below is an image of the game screen, with a green field with a tree and a box on it:
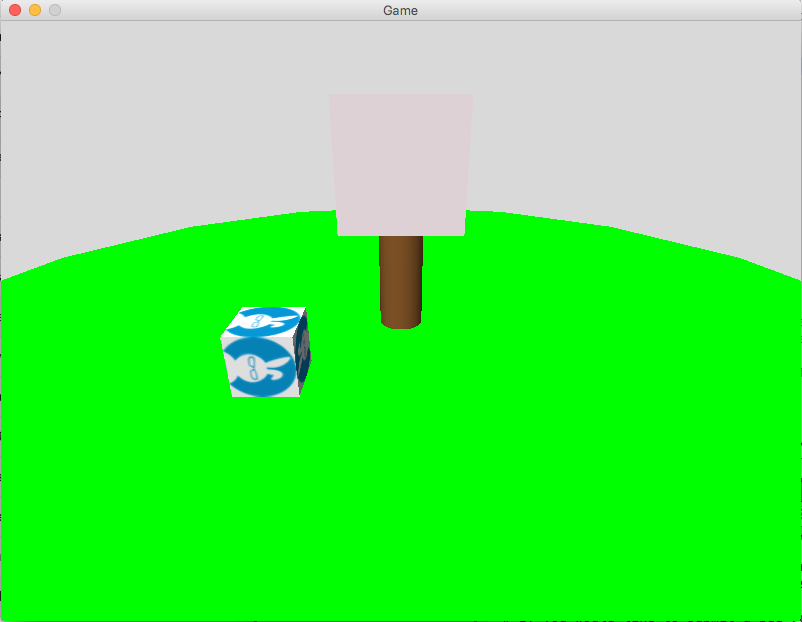
Using our camera’s Move action, we can see this scene from behind. Recall that Quorum uses a left-handed coordinate system, so in order to move the camera from it’s initial position, which in this case is (0, 100, -200), we need to move it in a positive direction along the z-axis. Let’s try moving it by 400.
In the CreateGame action write this line of code after the Add actions:
camera:Move(0, 0, 400)If we run this program right now, we will not be able to see any of the objects in our scene. That is because our camera has another important property in addition to its position: its direction. Right now, our camera is behind all of our models, and looking even farther into empty space. Recall the LookAt action we used in the 3D drawing tutorial. We can use this to turn the camera around to look at our scene. Let’s write this line of code right after the Move action:
camera:LookAt(0, 0, 0)This is what results when we run the code with these two additional lines:

We can move the camera in any direction by using the Move action. It needs three numbers representing the amount to shift by on the x, y, and z axes. Each time we move the camera, we need to remember to adjust the direction it is pointing in.
Now that we can move our camera, let’s delete those two lines of code we wrote and learn the next important camera ability: Zoom.
Zooming
If we want to get a closer look at our objects, we need to zoom in. In order to Zoom, we will call our camera’s SetZoom action. When we pass a number larger than one to the SetZoom action, our camera zooms in. When we pass a decimal value, our camera zooms out. In 2D, our camera will zoom in on the center of our screen. In 3D, the camera will zoom in the direction it is facing, so we need to use the LookAt action to make sure our camera will zoom where we want it to. Write the zoom code in the CreateGame action.
Below is the code necessary to zoom in on our box (Note that the model action GetGlobalPosition() returns the position (x, y, and z) of a model within the 3D space as a Vector3. A Vector3 is just a convenient way to pass 3 numbers.):
camera:LookAt(logo:GetGlobalPosition())
camera:SetZoom(2.5)
And this is what results from our code:
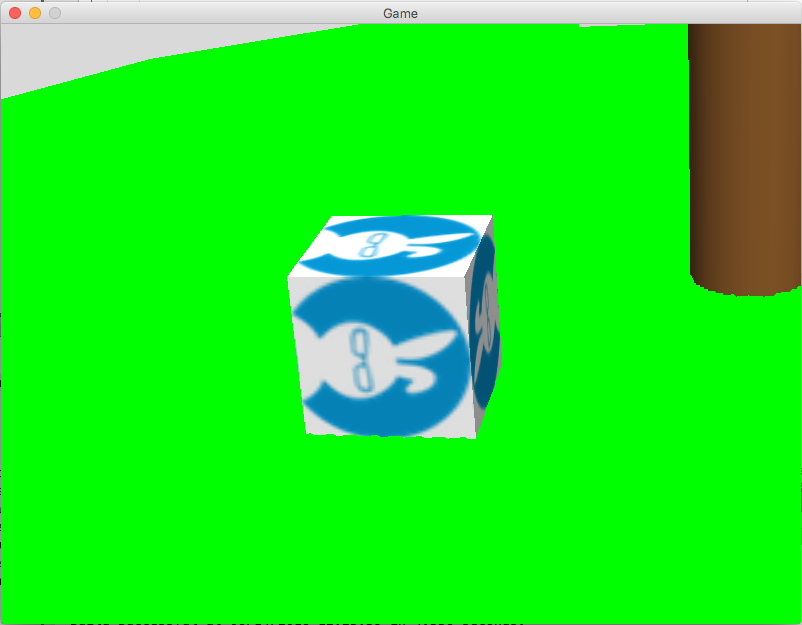
Now we can zoom in on objects in our game scene!
Once again, we need to clear what we just wrote so that we can try another way to manipulate the camera: Rotation!
Rotating the Camera
Whether our camera is viewing a 2D or a 3D scene, it is a 3D object. This means that when we rotate our camera, it is rotating in 3D space. For rotation in both 2D and 3D, we need to use our camera’s Rotate action. Rotation in 3D is a little more complex than 2D rotation. In order to rotate our camera, we need to give it an axis or a line to rotate around. This will let Quorum know how we want our camera to rotate.
2D Rotation
When we rotate our camera in a 2D scene, we should only rotate our camera around the z axis. This means that our action call should look like this:
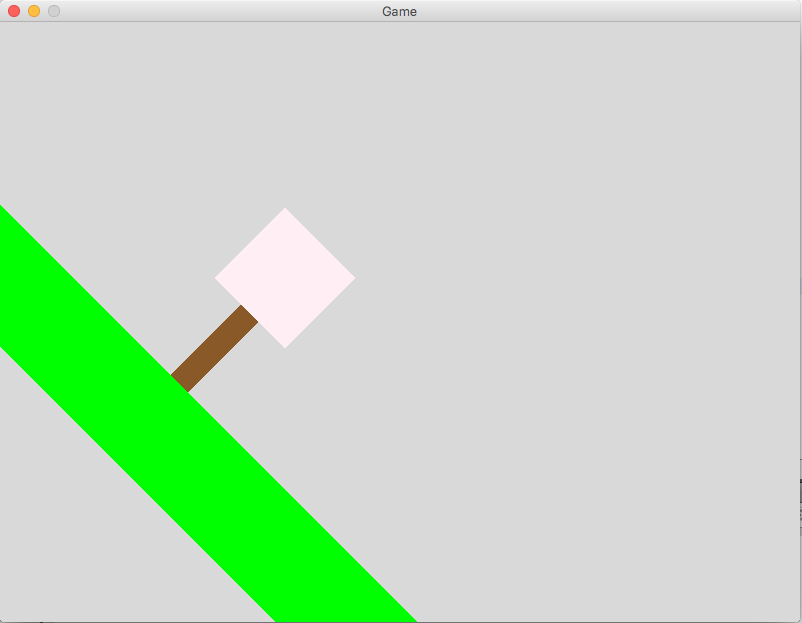
Rotate(number of degrees, 0, 0, positive or negative 1 to indicate direction (clockwise or counterclockwise)).In our 2D example, let’s try rotating our camera 45 degrees clockwise. In the CreateGame action, after the add statements, write:
camera:Move(500, 0, 0)
camera:Rotate(45, 0, 0, 1)
This is the result of those added lines of code:
Now that we understand camera rotation for 2D scenes, let’s try camera rotation for 3D.
3D Rotation
Let's open the 3D example scene again for this part of the tutorial. Be sure to comment out or delete the last zoom. To try out basic rotation for 3D, let’s rotate our camera to look at our scene upside-down.
We are still writing this code in the same place: our CreateGame action after the Add statements. We can write these two lines of code to see the scene upside-down:
camera:Rotate(180, 0, 0, 1) //This action requires 3 parameters: the number of rotation degrees, an x value, a y value, and a z value
camera:LookAt(0, 0, 0)
The results of that code look like this:
Now, we can get rid of the code that turned our world upside-down and try another type of rotation that is useful in a 3D game called RotateAround. This action allows us to rotate around a point on our screen. In order to better see the effect of this action, let’s write this code in our Update action:
RotateAround is an action that requires three parameters: a Vector3 (think of this as a way to represent a point in 3D) that represents the point we want our camera to rotate around, a Vector3 that represents the axis we want to Rotate about (like the previous Rotate) and the number of degrees to rotate. Let’s rotate around our tree by the y axis, and keep the number of degrees since it will rotate by this much every frame. Here is what our code should be:
action Update(number seconds)
    Vector3 treeCorner
    Vector3 zaxis
    treeCorner:Set(0, 0, 50)
    zaxis:Set(0, 1, 0)
    camera:RotateAround(treeCorner, zaxis, 1)
end
Now, if we run our code (F6), our camera rotates around our scene with the tree at the center.
Orthographic Cameras and Perspective Cameras
Quorum and most other 3D game engines support two types of cameras: orthographic and perspective. In general, an orthographic camera is for 2D scenes, and a perspective camera is for 3D scenes. An orthographic camera does not show depth. A perspective camera will make objects that are farther away look smaller, and objects that are closer to the camera look larger.
In general, the default settings: perspective for 3D scenes and orthographic for 2D scenes, will be suitable, but for more information on the PerspectiveCamera and OrthographicCamera classes, see the Library pages.
Next Tutorial
In the next tutorial, we will discuss Lighting, which describes how to use lighting.