Create a Scene Project
This tutorial creates a New Scene ProjectCreating a New Project
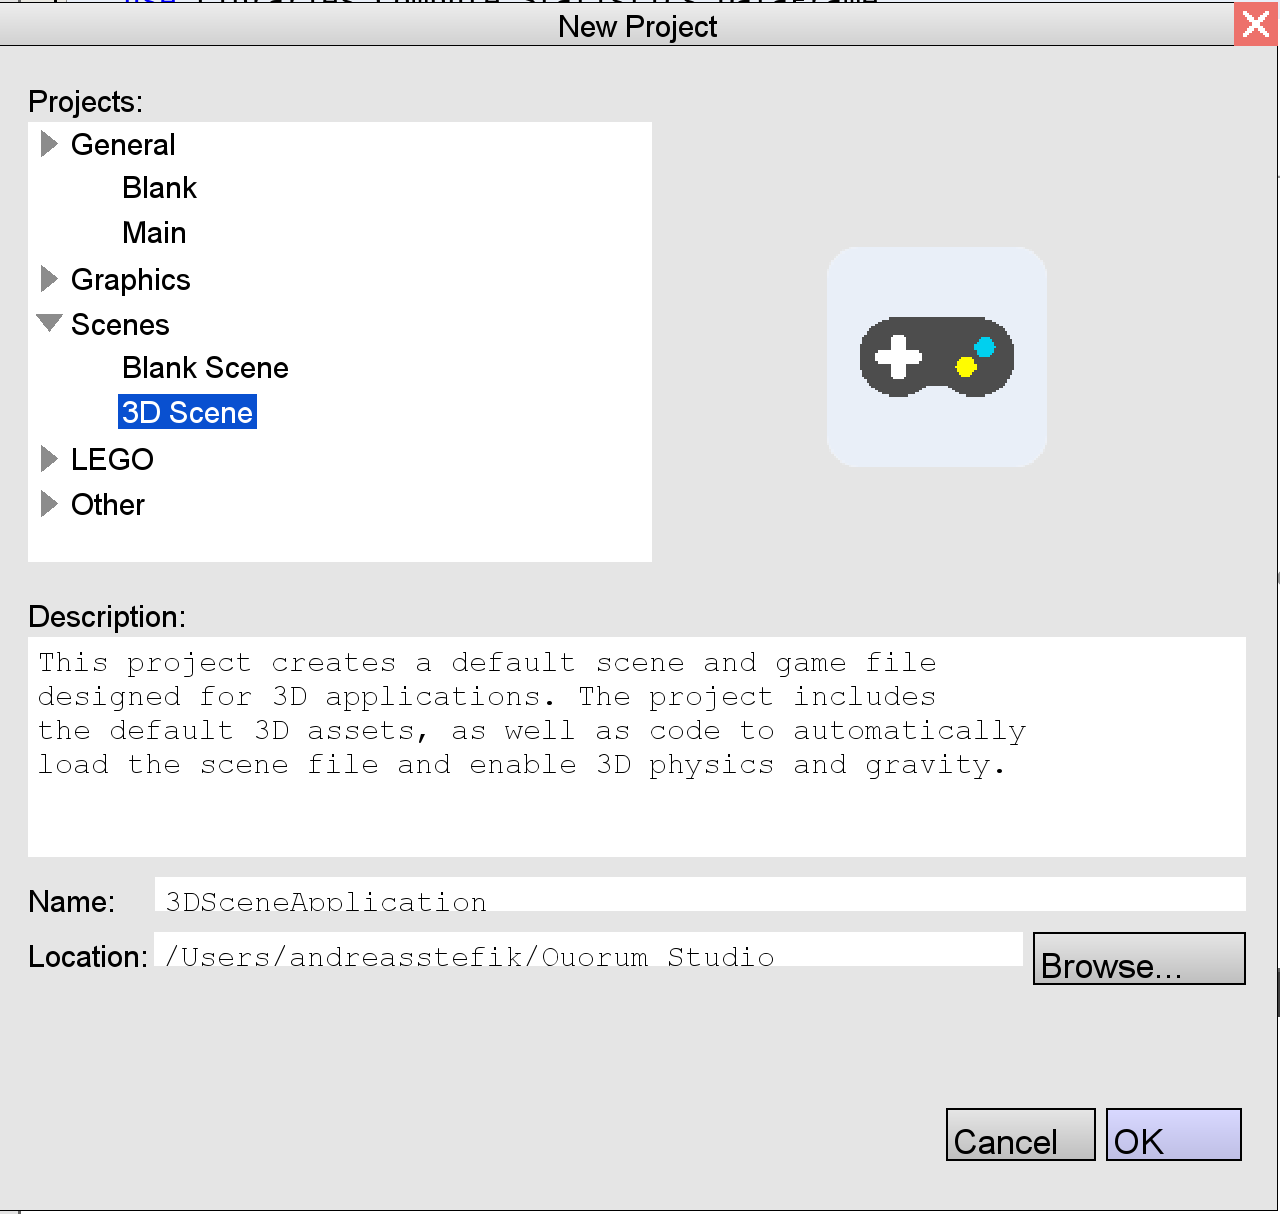
To create a New Scene Project, either click File -> New Project, or use the keyboard commands: COMMAND + N on Mac, or CONTROL + N on Windows. From here, a New Project Dialog appears:
Navigate to Scenes, and then Blank Scene. Tab to, or Click on, Name, and name the project. Then select OK to create the new project.
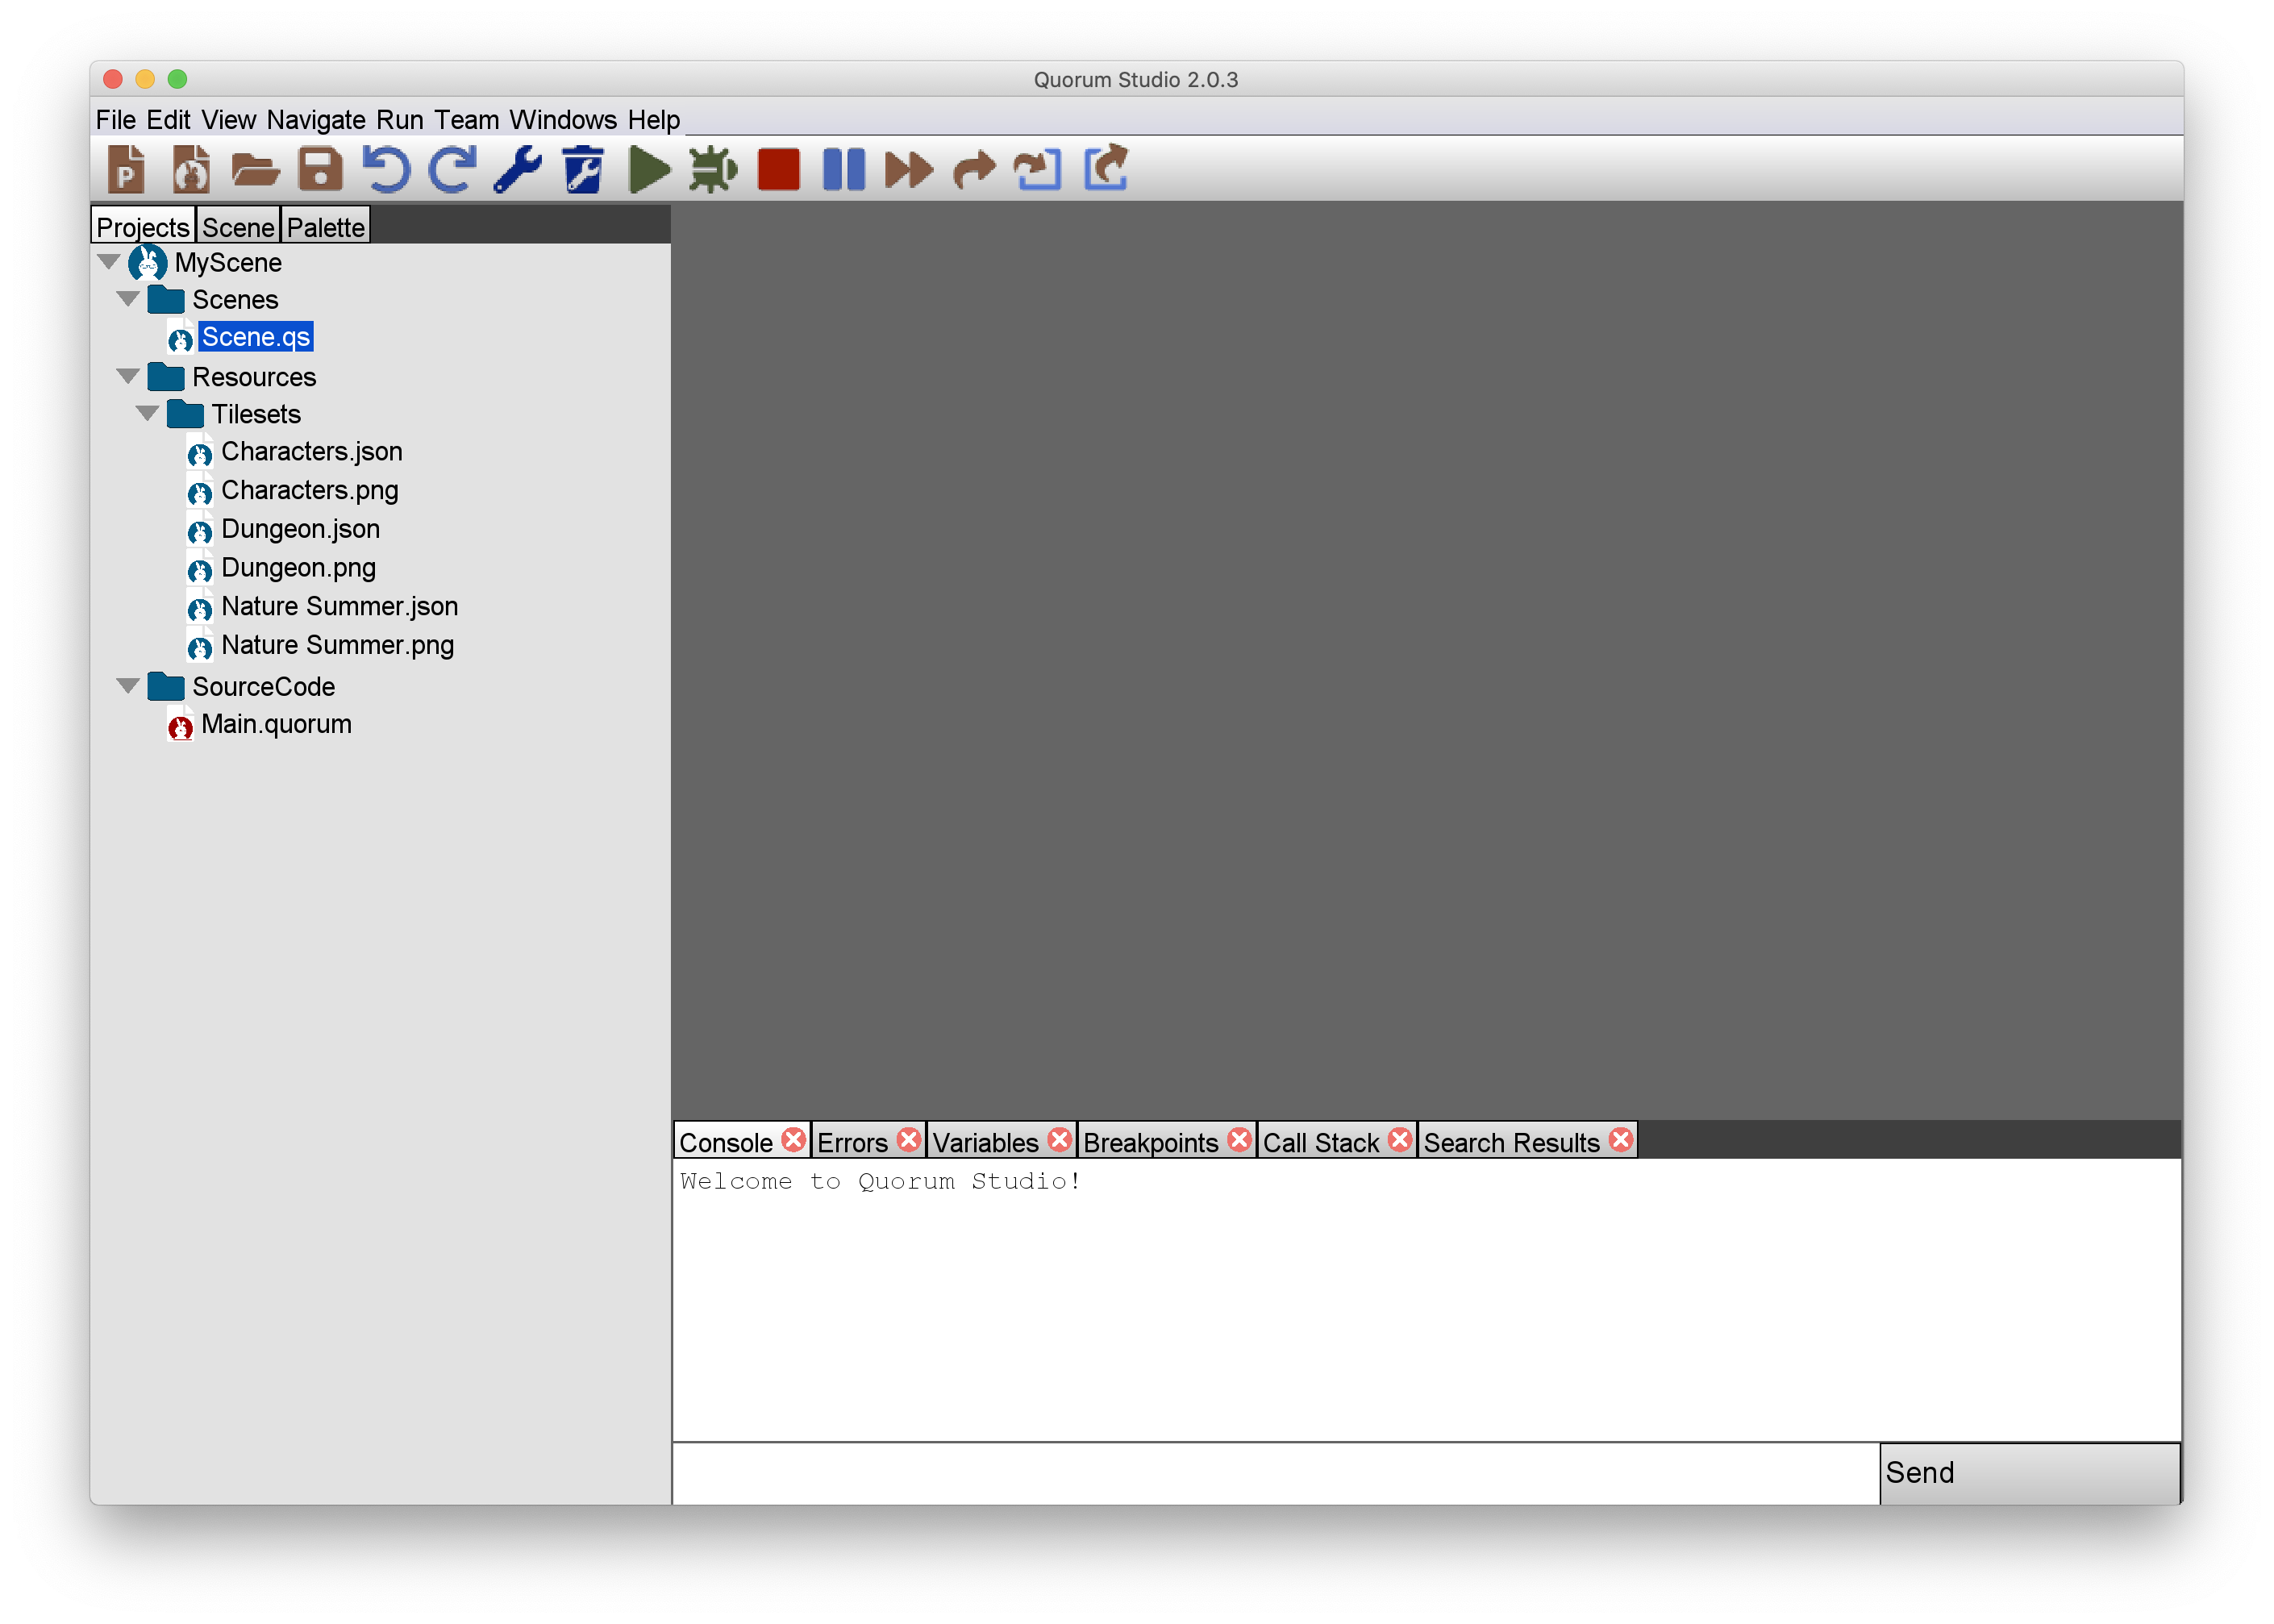
After the project is created, the screen shows the project, with several items created by default. The first folder "Scenes," which has the file Scene.qs. This is a blank Quorum scene file. The next folder "Resources" contains the "Tilesets" folder with 6 files. Three PNG picture files, and three files with the extension JSON. JSON is a file format called JavaScript Object Notation (JSON). These files allow visual images on the screen, as well as text descriptions. The third folder "Source Code," which has the Main.quourm file. That file contains the code for the scene.

To open the scene, select Scene.qs. This will, by default, create a 3D scene. This tutorial track focuses on 2D. The change to the 2D view, use COMMAND+1 or CONTROL+1 to navigate back to the project window. Then COMMAND+TAB or CONTROL+TAB to navigate to the Scene tab. The Scene tab has two menu options, 3D or 2D, navigate to the 2D option. This will change to the visual editor to 2D.

Next Tutorial
In the next tutorial, we will discuss Introduction to Manipulating Scenes in the scene editor., which describes scene manipulation in Quorum Studio..