Add and Remove Items in a Scene
Learn how to place the monsters.Changing the 2D Scene
One of the most common operations in a Scene Editor is adding and removing items. The basic idea is easy enough in that you can move items from the left hand side, with drag and drop or the keyboard, onto the right with the editor. You can also move the camera to place things exactly where you want them to be. First, let’s discuss adding and removing in the context of 2D.
The first step to adding an item is selecting the Palette tab. By default, the Palette contains a series of tiles, like water, stone, or transitions between these. We use the mouse or the arrow keys to move up or down in the palette like any tree.
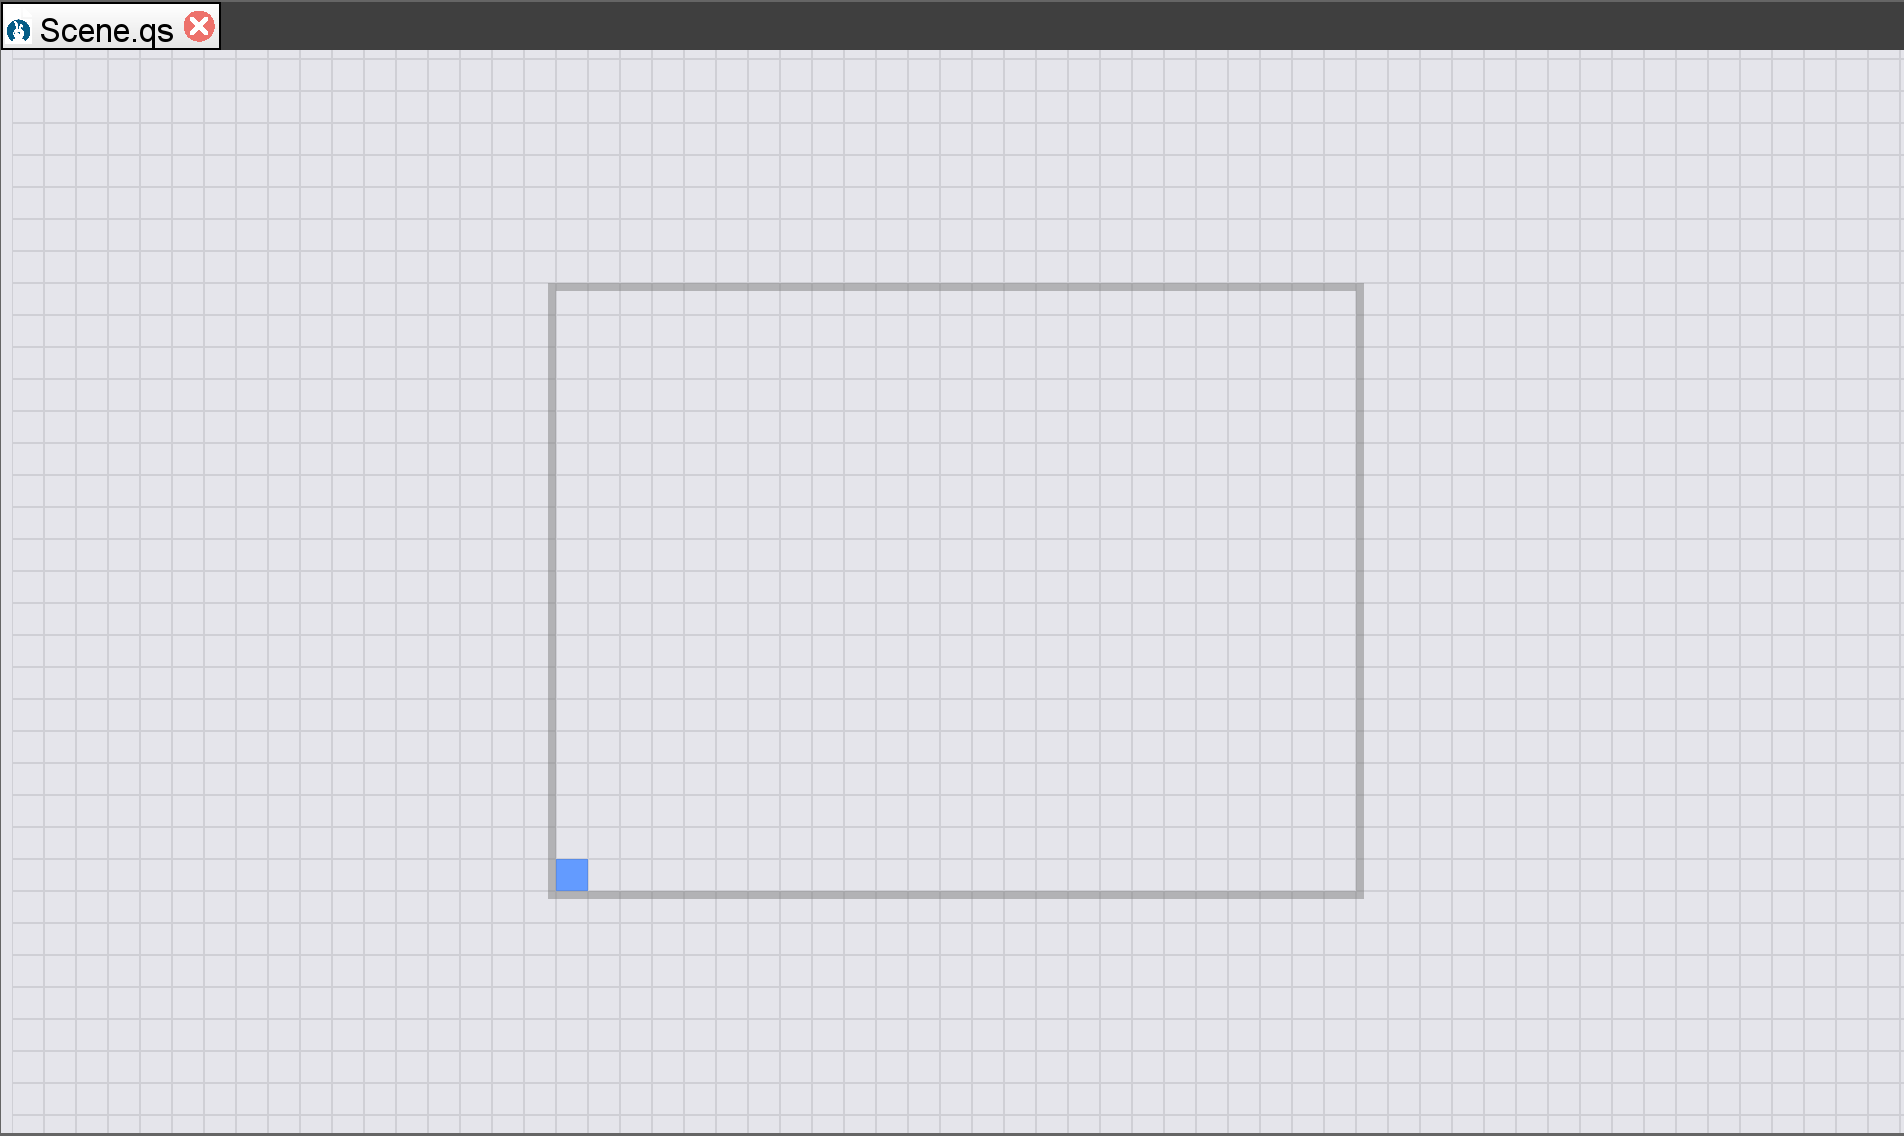
To add an item, whether it be a monster, player, or floor tile, we add an item to the scene editor with the ENTER key. The example below shows a large grey grid with lines indicating the grid spots. In the bottom left corner of a grey square outline is a small blue square, which in this case is a water tile. The grey outline indicates where the default camera would be if not moved for the game.
To describe in text, the grey outline has the size of 768 by 576 in pixels. Each small square is 32 x 32, which means to obtain the number of squares in the grid we divide by 32 in each case. This also means the water tile takes up 1024 pixels in the game and the camera views 442,368 pixels by default. Put another way, visually, each tile is much smaller than the space in the camera, even ignoring concepts like zooming out.
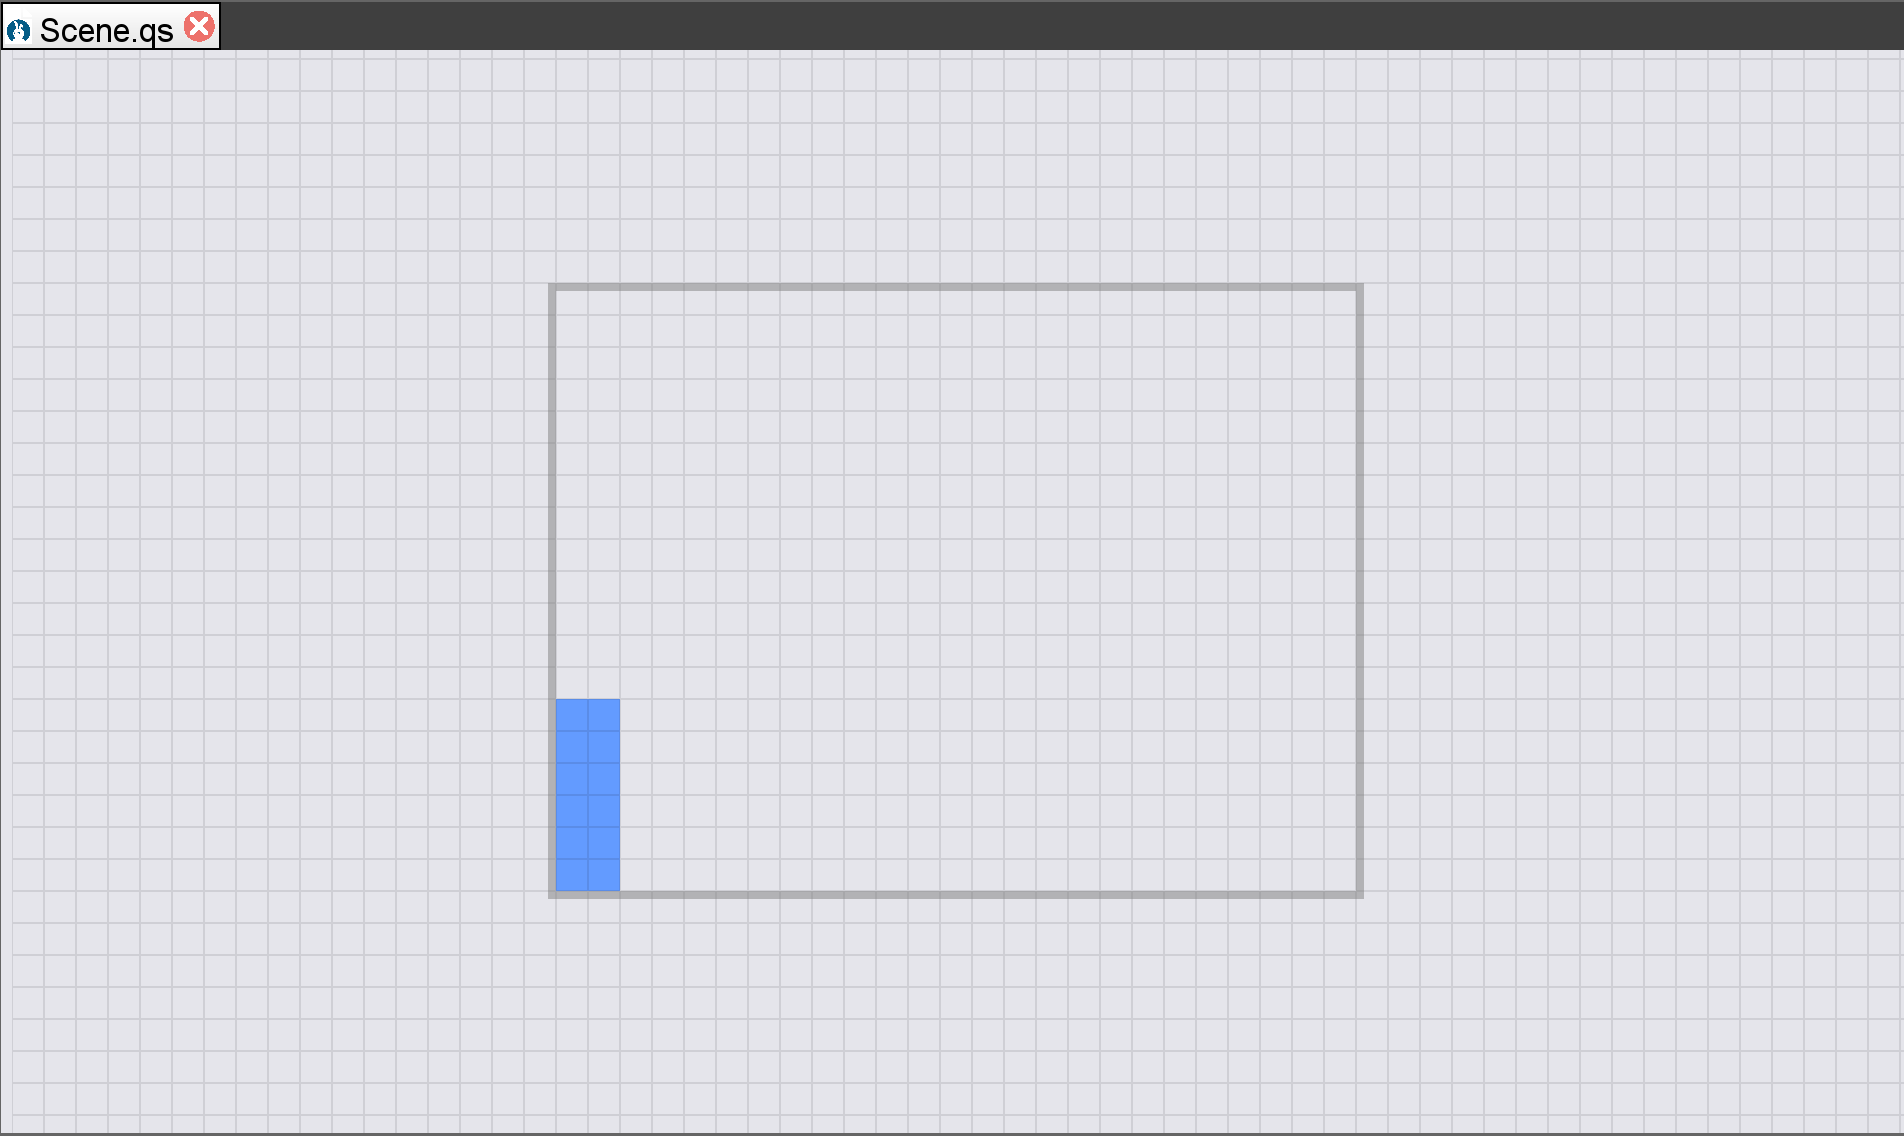
Similarly, we can use the arrow keys to add many tiles. Below shows an example with 12 water tiles in a 2 x 6 grid, meaning 2 tiles wide and 6 tall. Running this game would show only the tiles in the bottom left corner with the camera pointed at the grey square with the sizes mentioned previously. This means that visually a user of the game would see a blue rectangle in the bottom left and the rest would be the background color of grey.
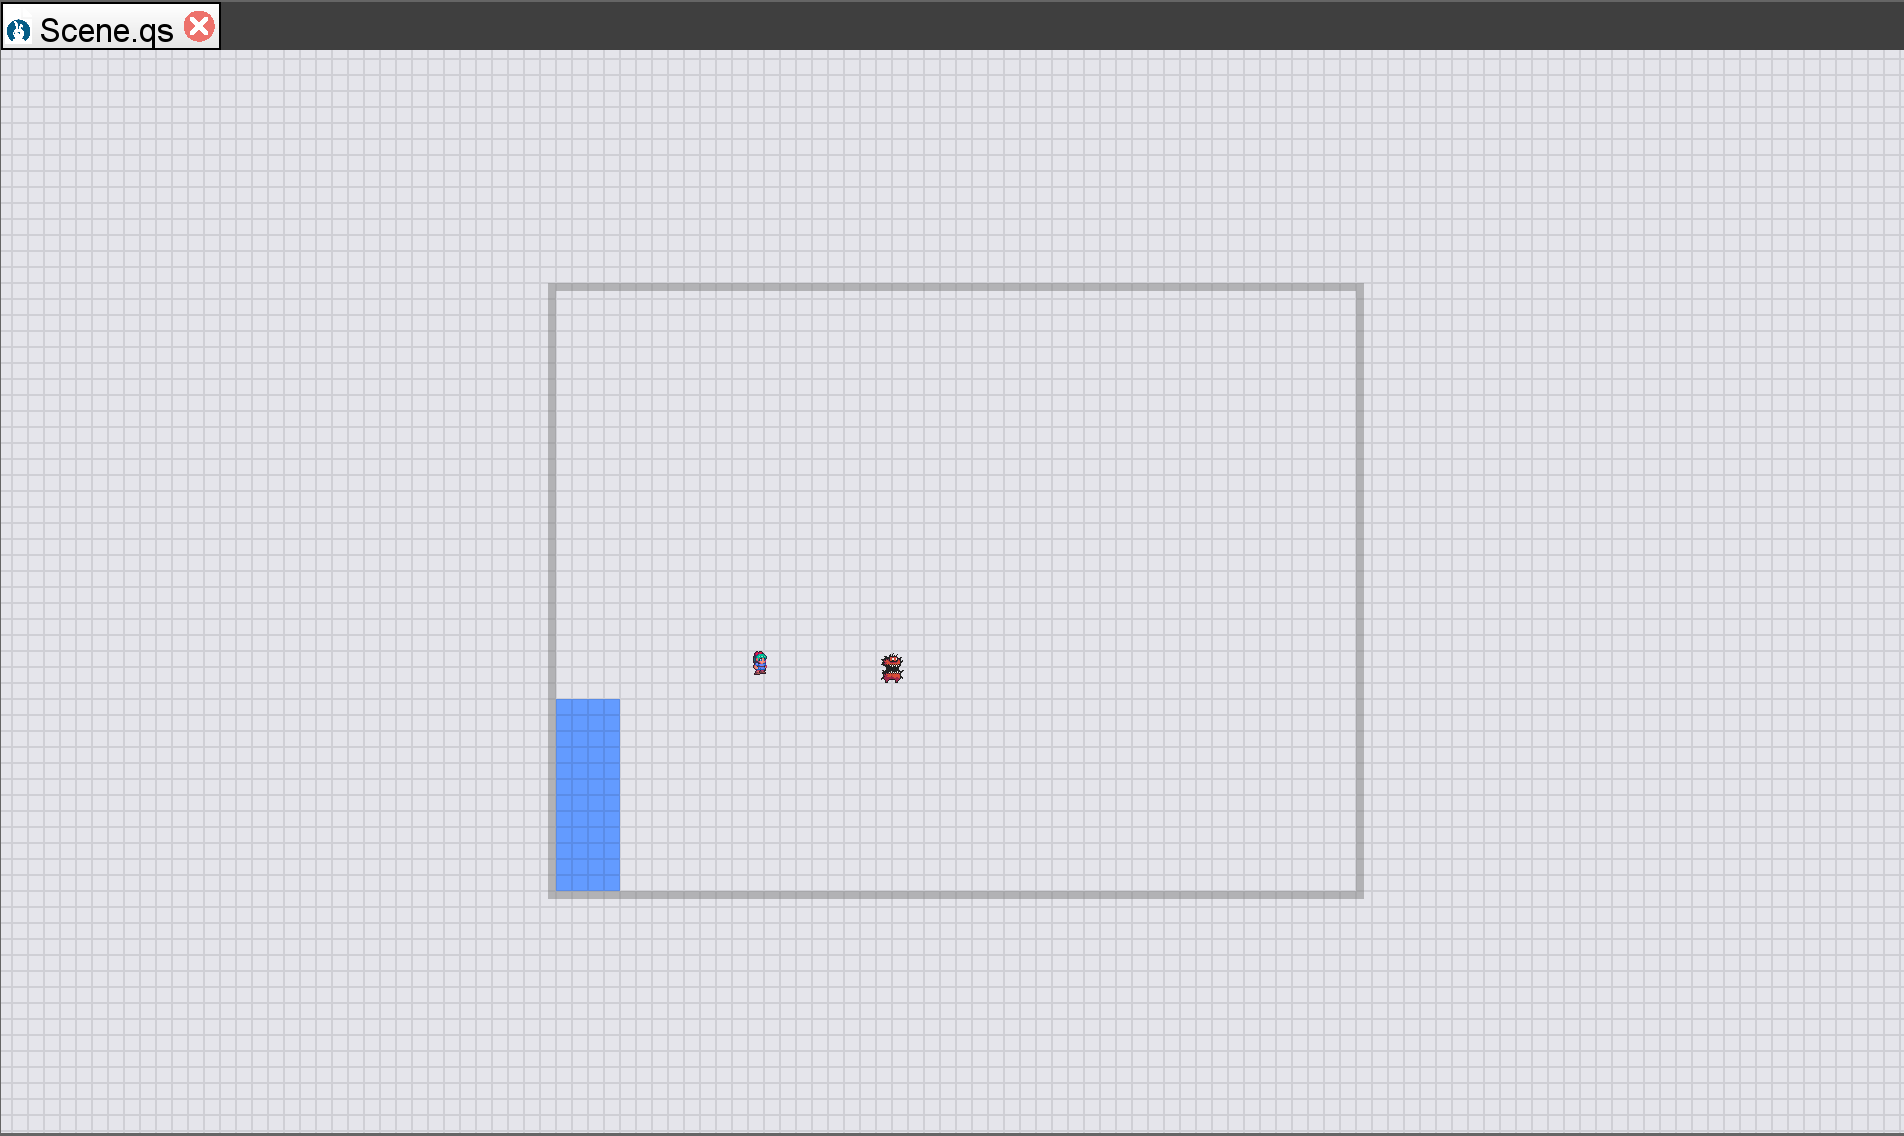
Other items can be placed in a tile, such as a character or monster. Use COMMAND +1 or CONTROL+1 to navigate back to the project window. This will return focus to the Palette tab where it left off. We use the arrow keys and enter if using the keyboard or drag and drop with the mouse. The following shows a character and a red mouthed monster in the middle of the camera’s view.
Changing the 3D Scene
The process of adding items to the scene is similar in 3D compared to 2D. The primary challenge is that 3D graphics uses a z-coordinate to change how far away an item is compared to 0. Changing the camera position with the keyboard requires going to it, then adjusting its properties. This includes the distance, direction, zoom, and field of view.
With the mouse, the camera can be adjusted in several ways. First, we can issue a look-around with a right mouse click and a drag. In a look-around, the camera will stay in place but shift its direction to where you move your mouse. So, if you drag toward the right, the camera will start to point its direction the same way.
We can also issue an orbit command. An orbit uses the middle mouse button and orbits the camera around a point in the distance. This lets you keep looking at the pivot point with the camera but move its location. Similarly, SHIFT + middle click pans the camera. Finally, the scroll wheel zooms the camera in and out.
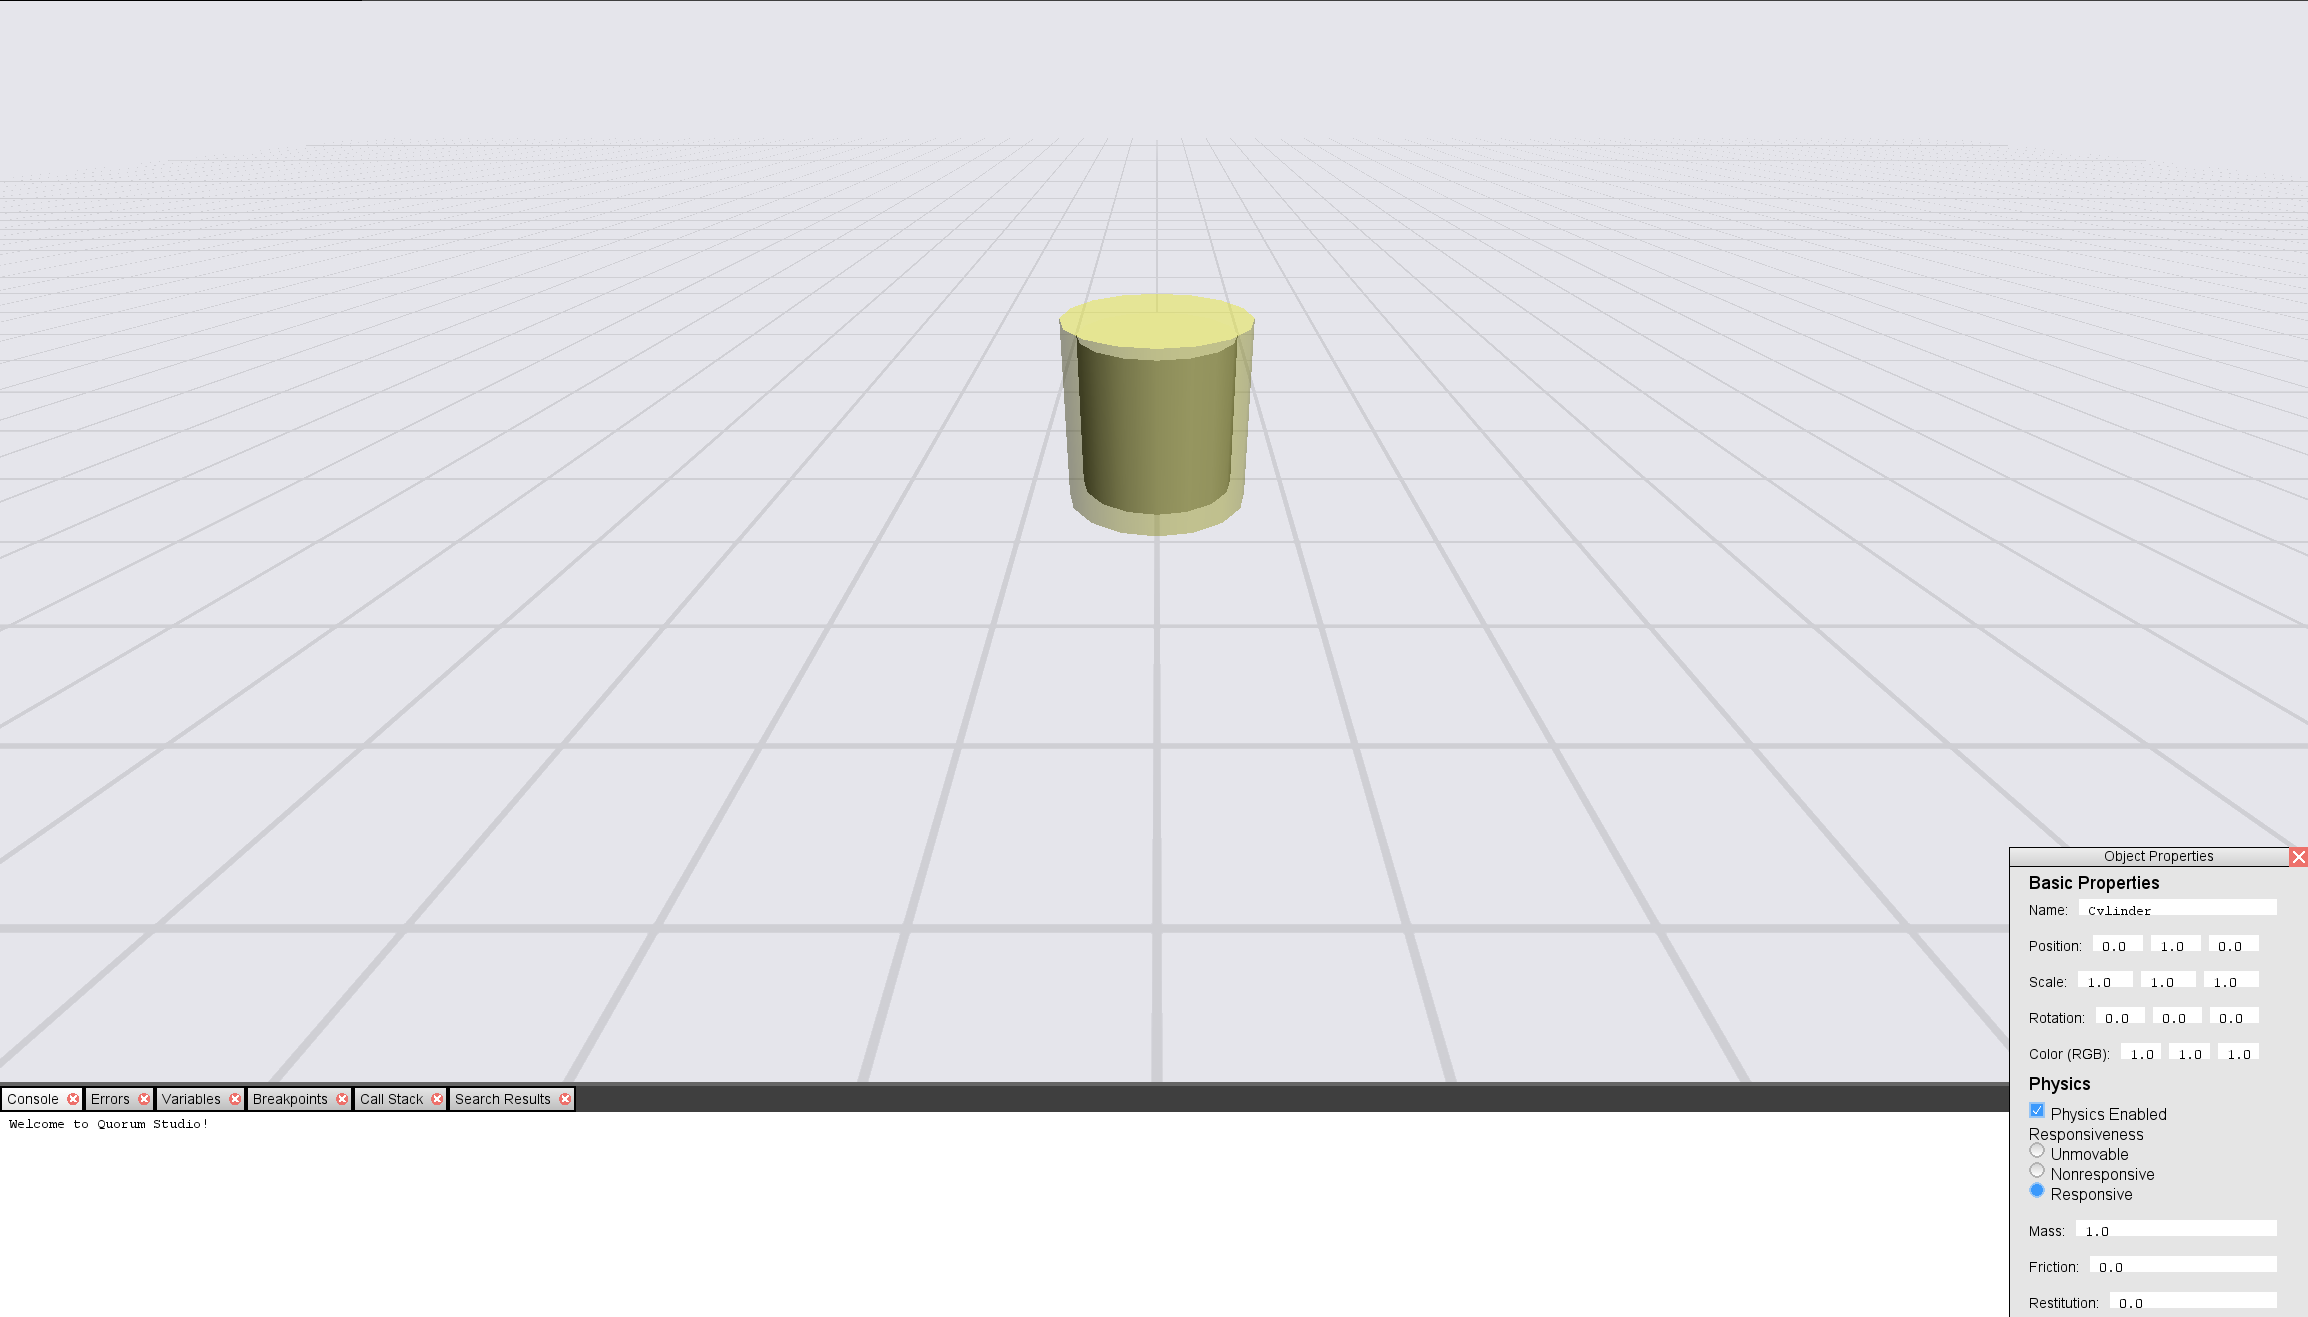
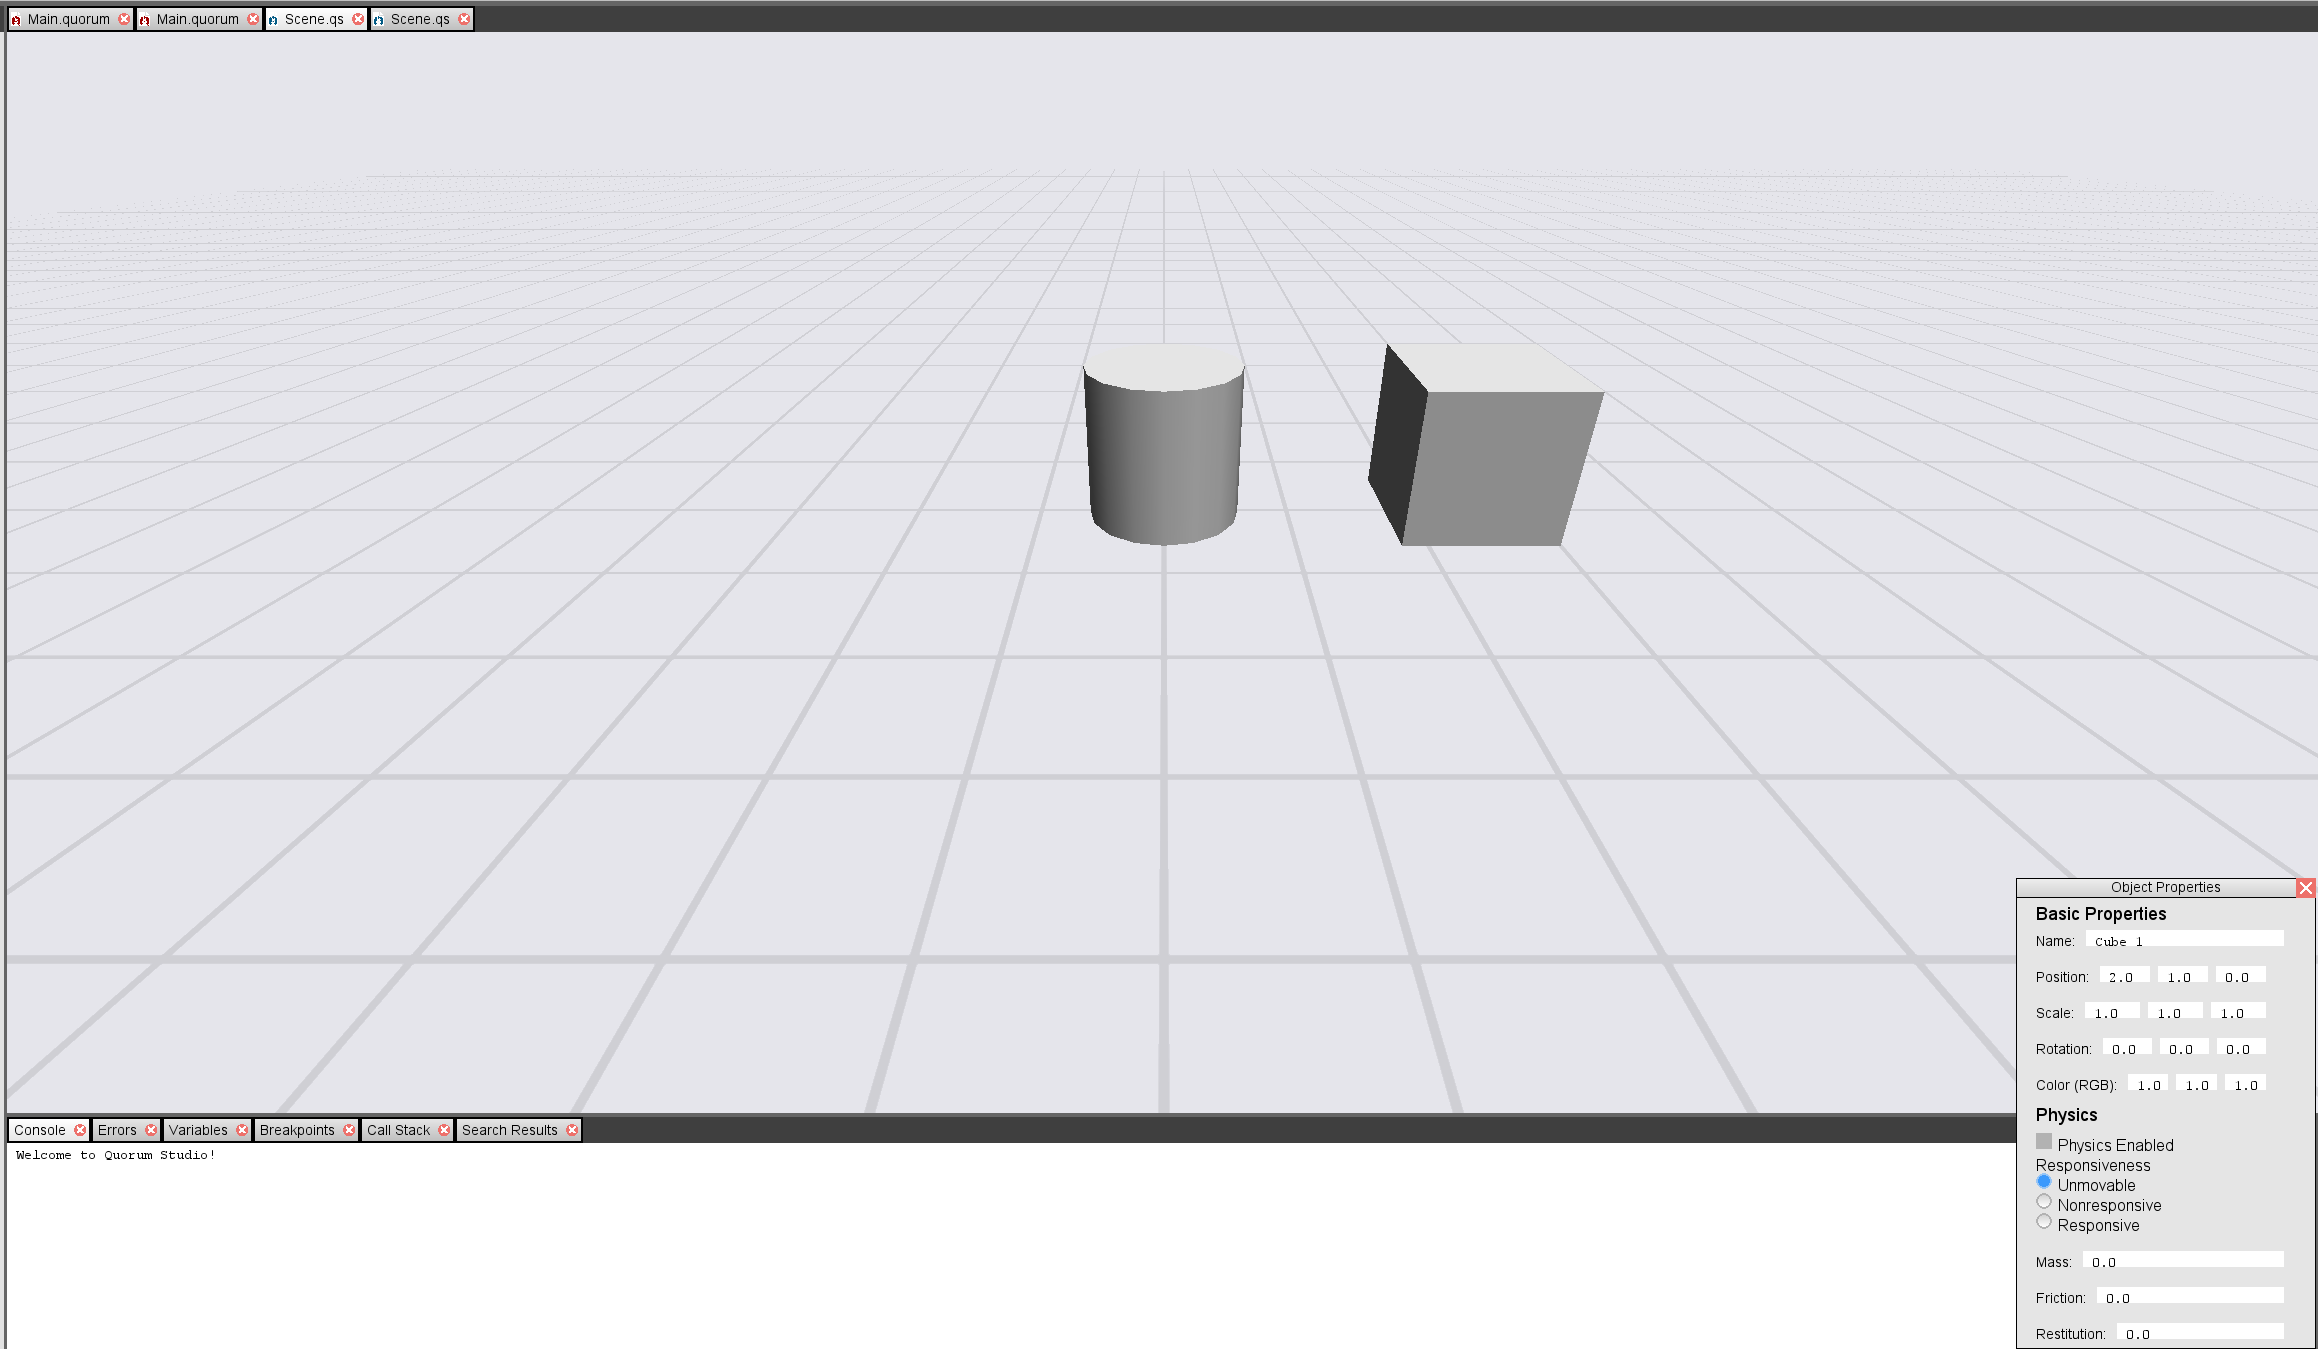
Past the camera, items are added in the same way. We use the palette, press enter, and move the item around. By default, the Palette contains a collection of primitives such as cubes, cylinders, or spheres, in addition to 3D shapes related to nature, space, castles, or roads. The example below shows a cylinder selected in the middle of the grid.
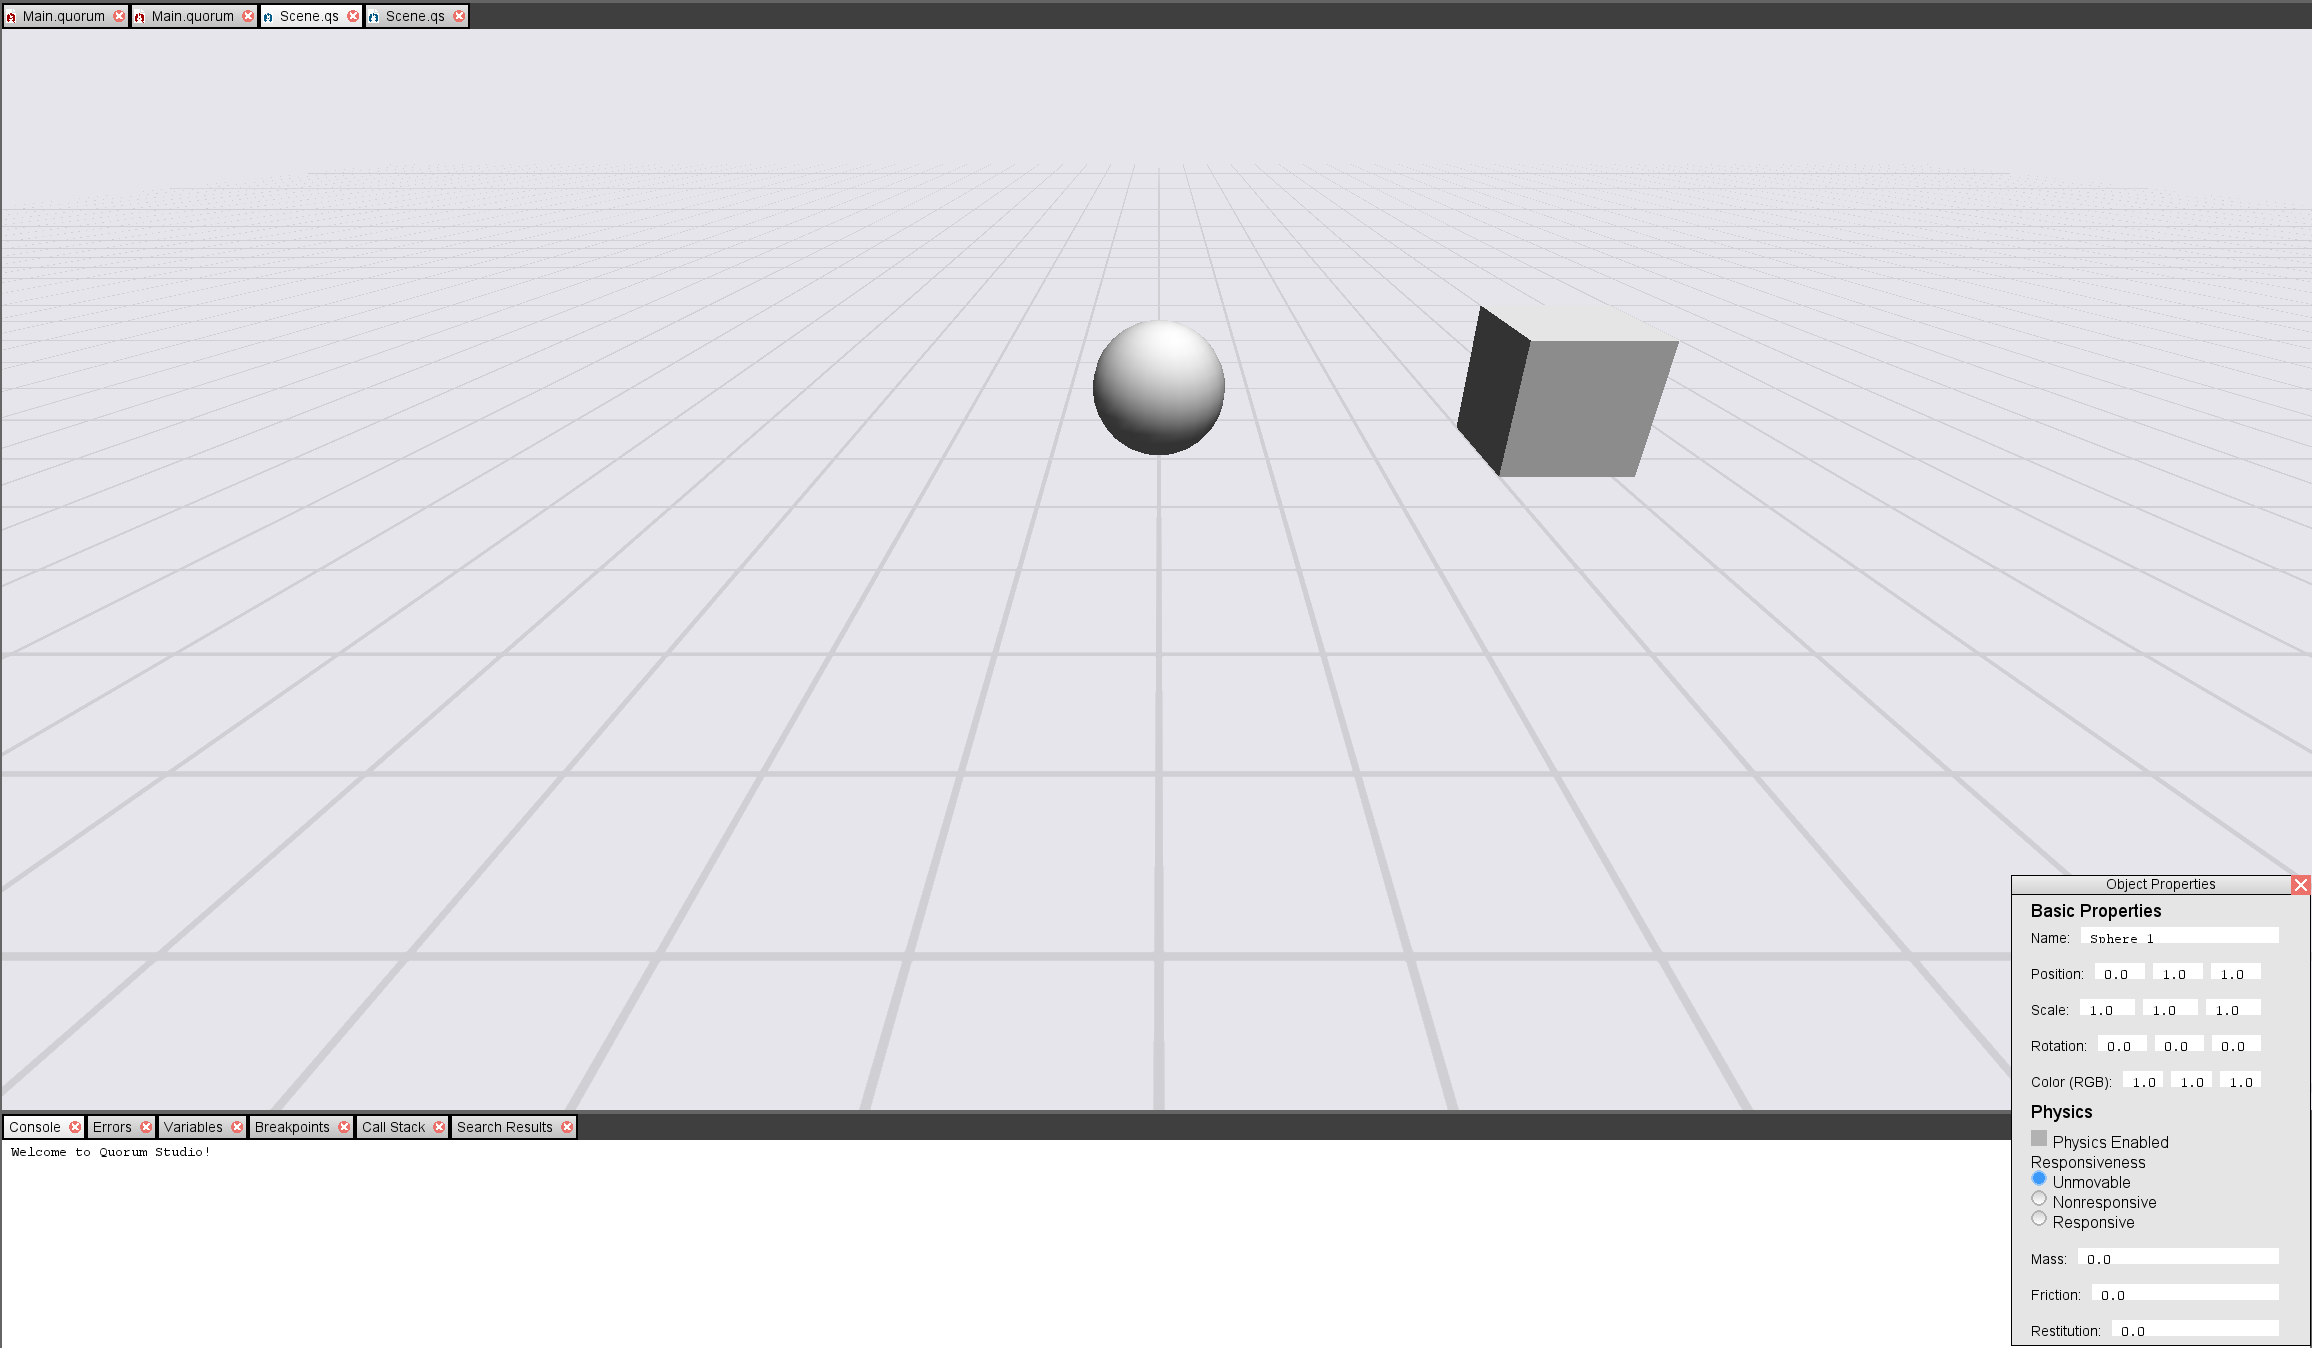
Now that the item has been selected, use the arrow keys to place it in the appropriate space, COMMAND+UP or CONTROL+UP moves the 3D cursor up in space and COMMANDS+DOWN or CONTROL+DOWN move the cursor down in 3D space, and Enter to place it.
If an item is selected, we can use the arrow keys to place it in the appropriate space. In this way, COMMAND+UP or CONTROL+UP moves the 3D cursor up, the positive y-coordinate, and COMMANDS+DOWN or CONTROL+DOWN move the cursor down, the negative y-coordinate.
Removing Items
To remove items using the grid editor, navigate to that screen using COMMAND+2 or CONTROL+2. Then use the arrow key to navigate to the tile or item to be deleted. If there are multiple items in the same spot, we can use the TAB key to switch between them.
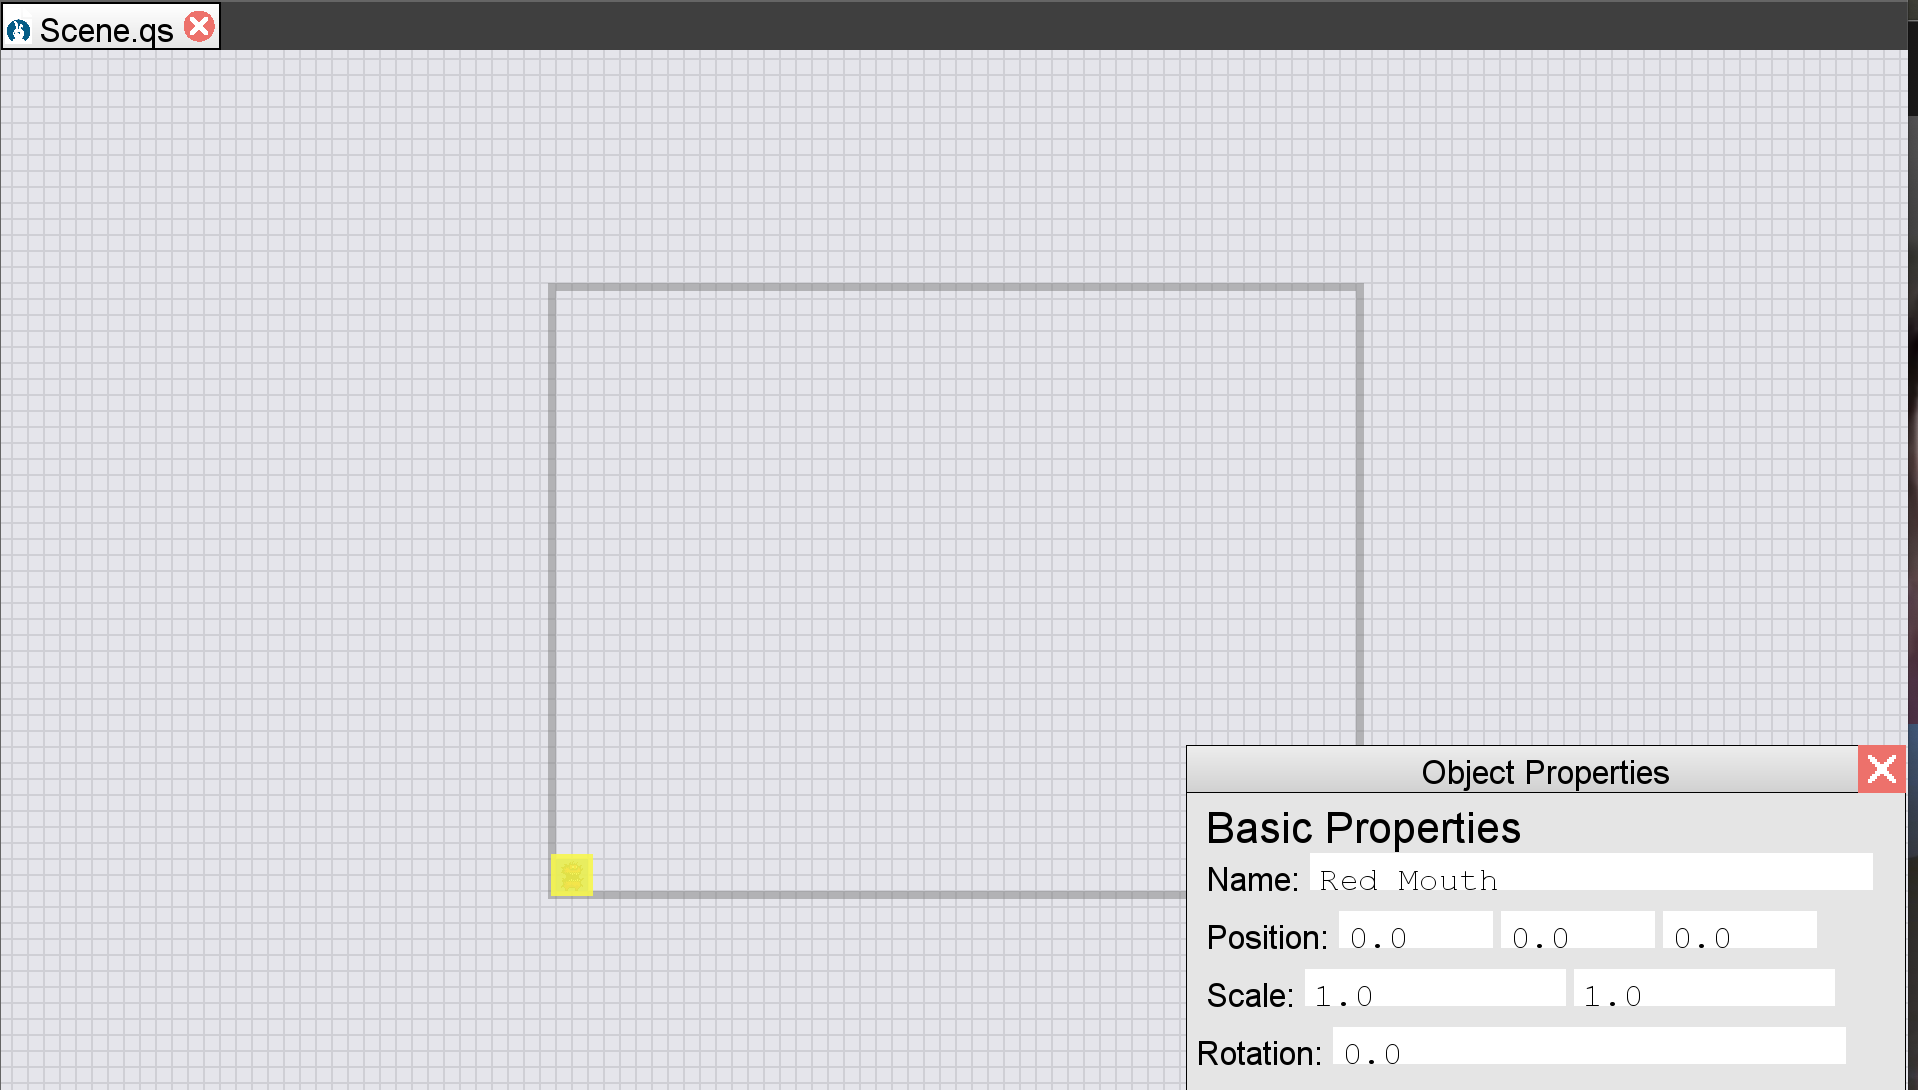
Once we find the one we want, we can use DELETE to remove an item. If we have selected it and decide we do not want to delete or move it, we can use ESCAPE to de-select it. When an item is selected, the properties window will open. We can navigate to it with COMMAND+P or CONTROL+P. We can also use the mouse. The image below shows a red mouth monster when selected.
Deleting an item in 3D is basically the same. You navigate to the item, press tab if there is more than one, and use DELETE.
Next Tutorial
In the next tutorial, we will discuss Navigation and Keyboard shortcuts in Quorum Studio, which describes scene navigation in Quorum Studio.