Tutorial: Radio Button
This tutorial tells you how to use Radio Buttons in QuorumNow, we will add a simple focus cycle to make our Interface accessible. We will be able to go through the options with the Tab key and activate a Radio Button with the Spacebar. We will do this with the following lines of code:
option1:SetNextFocus(option2)
option2:SetNextFocus(option3)
option3:SetNextFocus(option1)
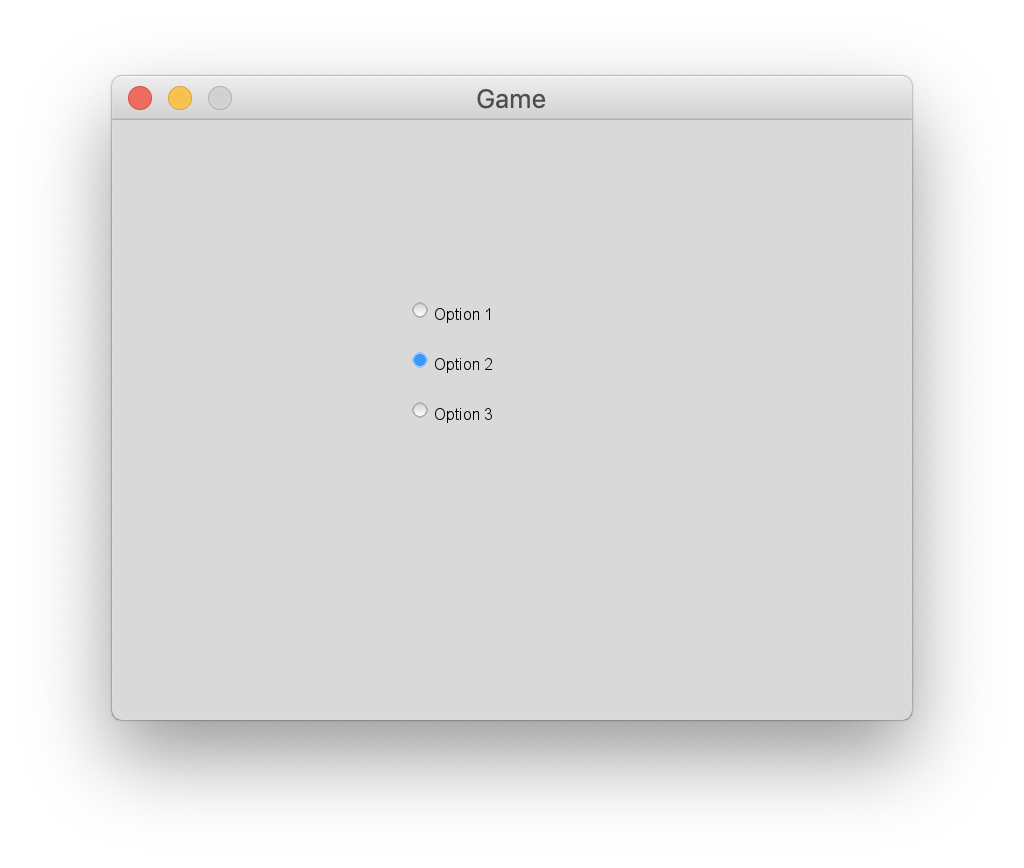
SetFocus(option1)With this, we can now run the game and select one of the three options. If one is already selected and we select a different Radio Button, then the previous one will be deselected. But, other than selecting and deselecting, the Radio Buttons do nothing else. In the next section, we'll change this by adding Behaviors to our Radio Buttons.
Introduction to Radio Buttons in Quorum
What are Radio Buttons?
In the Checkbox tutorial we were introduced to toggle buttons. A Toggle Button is simply a Button that switches between two toggle states when activated. Radio Buttons are another type of Toggle Button, but they handle switching states differently than a Checkbox. A Radio Button can be toggled on by activating it, but a different Radio Button in the same group must be toggled on for the currently activated Radio Button to be deactivated. In Quorum, we accomplish this be adding related Radio Buttons to a ButtonGroup.
Although similar to Checkboxes, the method that Radio Buttons use to handle toggle states reflects their main design purpose: a Radio Button is useful when you want the user to select one and only one of a given set of options. To demonstrate this, we will make a set of three Radio Buttons where only one can be selected at a time. To start, create a new Game Application project.
Making a Set of Radio Buttons
In order to use Radio Buttons, we must add the Radio Button library with the following use statement:
use Libraries.Interface.Controls.RadioButtonNow, just like with Buttons or Checkboxes, we need to declare our three Radio Buttons, then give them a name, position them, and add them to the Game. Thus, the CreateGame action so far will be as follows:
action CreateGame
    RadioButton option1
    RadioButton option2
    RadioButton option3

    option1:SetName("Option 1")
    option2:SetName("Option 2")
    option3:SetName("Option 3")

    option1:SetPosition(300, 400)
    option2:SetPosition(300, 350)
    option3:SetPosition(300, 300)

    Add(option1)
    Add(option2)
    Add(option3)
end
Adding Buttons to a ButtonGroup
If you run the program as it is now, you would notice that all three Radio Buttons appear correctly and you can activate them, but you will not be able to deactivate any of them. This is because a Radio Button needs to be in a ButtonGroup to deselect one. A ButtonGroup is a Control that you can add toggle buttons to, particularly Checkboxes and Radio Buttons, and when one button is toggled on, all the other Buttons in the ButtonGroup are deselected.
To add our Radio Buttons to a group, we first need to include the ButtonGroup library with the following use statement:
use Libraries.Interface.Controls.ButtonGroupNext, we'll declare a ButtonGroup object and call its AddButton action to add all three Radio Buttons to it. This is done with the following lines of code, which we will append to our CreateGame action:
ButtonGroup radios
radios:AddButton(option1)
radios:AddButton(option2)
radios:AddButton(option3)
Setting a Behavior
Giving a Behavior to a Radio Button is similar to a Checkbox, in that when the Radio Button is activated it will call the Behavior's Run action, and when deactivated it will call the Behavior's the Dispose action will be called. For our Radio Buttons, we will make a simple Behavior to say and output their name and status when Toggled On or Off.
To show this, we will create a new Quorum class for our Behavior and we name it "RadioBehavior.quorum." Our class will inherit from the Behavior class and we will override the Run and Dispose actions.
This Behavior will need the Speech and Item libraries, since we need to get the name of the Item that called the Behavior and will have the program say it. The full Behavior is shown in the following code block:
use Libraries.Interface.Behaviors.Behavior
use Libraries.Interface.Events.BehaviorEvent
use Libraries.Sound.Speech
use Libraries.Interface.Item

class RadioBehavior is Behavior
    Item item = undefined

    action Run(BehaviorEvent event)
        item = event:GetItem()
        output item:GetName() + " is now selected"
        Speech speech
        speech:Say(item:GetName() + " is now selected")
    end

    action Dispose()
        output item:GetName() + " was deselected"
    end
end
Now we simply need to go back to the main class and add our Behaviors, adding the following lines of code:
RadioBehavior behavior
option1:SetBehavior(behavior)
option2:SetBehavior(behavior)
option3:SetBehavior(behavior)
Now when you run the program, you can activate a Radio Button and the program will output and say which Radio Button was selected. Activating a different Radio Button will cause the program to say and output the new selection, as well as output what was deselected, giving us a fully functional set of Radio Buttons.
Run the Program
Next Tutorial
In the next tutorial, we will discuss Lists, which describes how to use Lists.